I loved every part of my Chilean adventure, from Santiago’s urban diversity, to Easter Island’s rich culture, to Patagonia’s breathtaking views – my only regret was not staying longer. Chile has so much to offer but because of its narrow geographic layout, it can be a vast region to attempt to cover in just one trip. While I was only able to experience the Central to Southern portion of the country, I cannot wait to return one day soon to explore the rest.
Santiago
Chile’s capital of Santiago (an estimated 7M+ residents in the metropolitan area) is organized into districts, and within those, lie the barrios or neighborhoods. I stayed in Barrio Bellavista (pronounced “Bay-uh-bee-sta”) which is known for vibrant street art, a casual vibe and fun nightlife. With the temperate spring weather, I wanted to get outside and explore the city as much as possible during my stay. The trick is to start walking early in the morning before all of the cars line the streets and block your view of the murals and mosaics. In Bellavista, an efficient way to see the art is to look between the streets of Dardignac, Bobero Nuñez, Santa Filomena and Pio Nono which is in the same general area as Museo La Chascona and Cerro San Cristobal. The area is especially popular with local residents walking their dogs in the morning, running or bicycling.
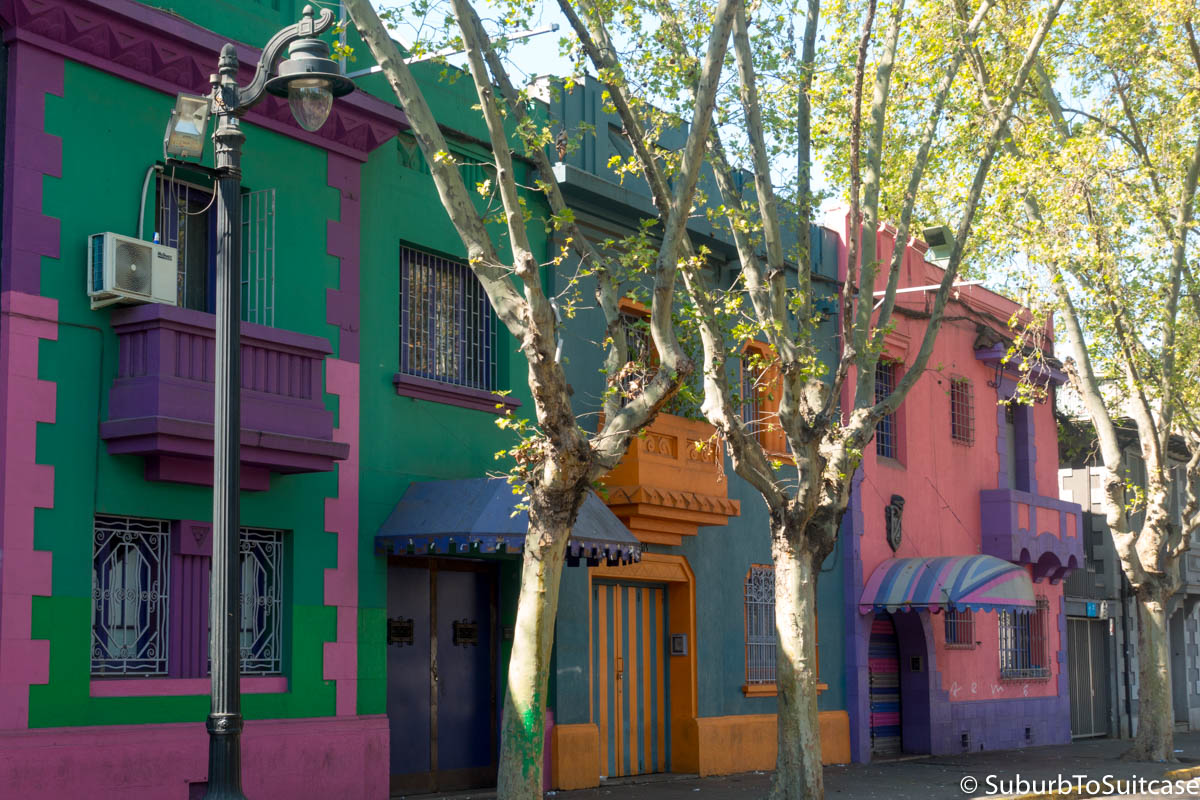
Bright street in Bellavista
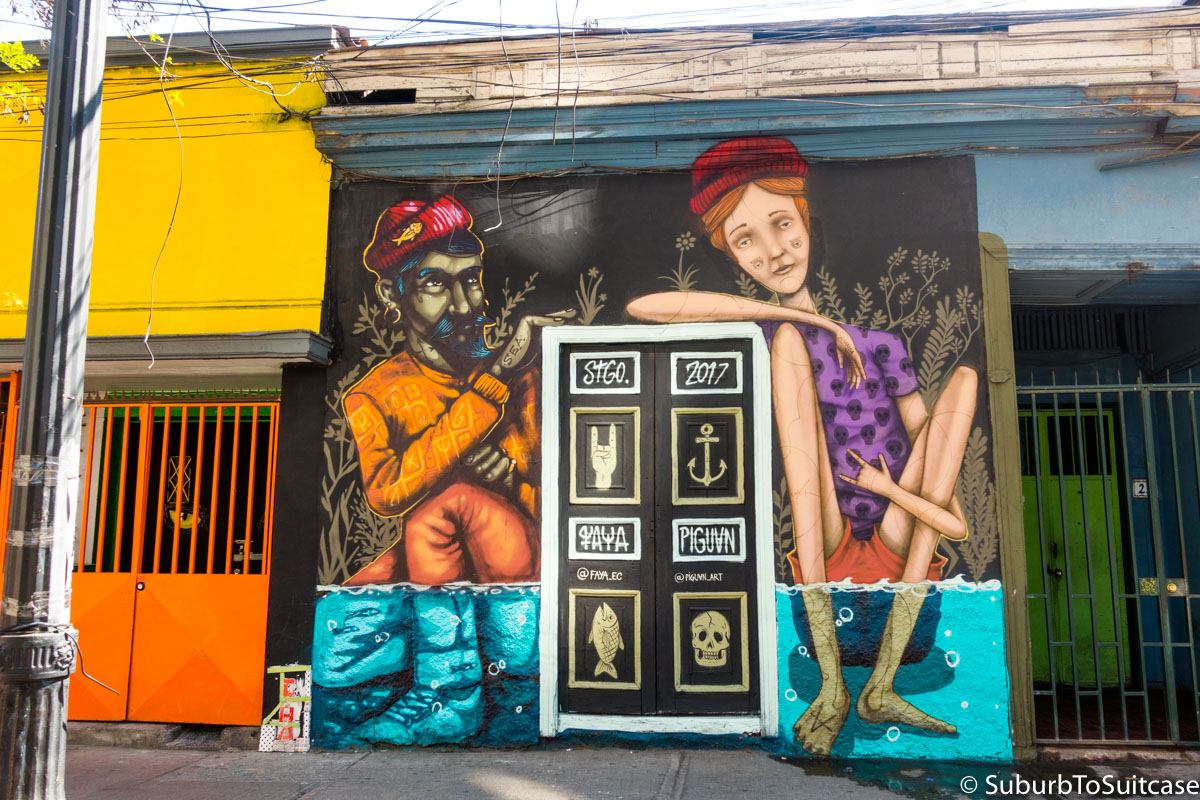
Work by “Piguan” is easy to spot
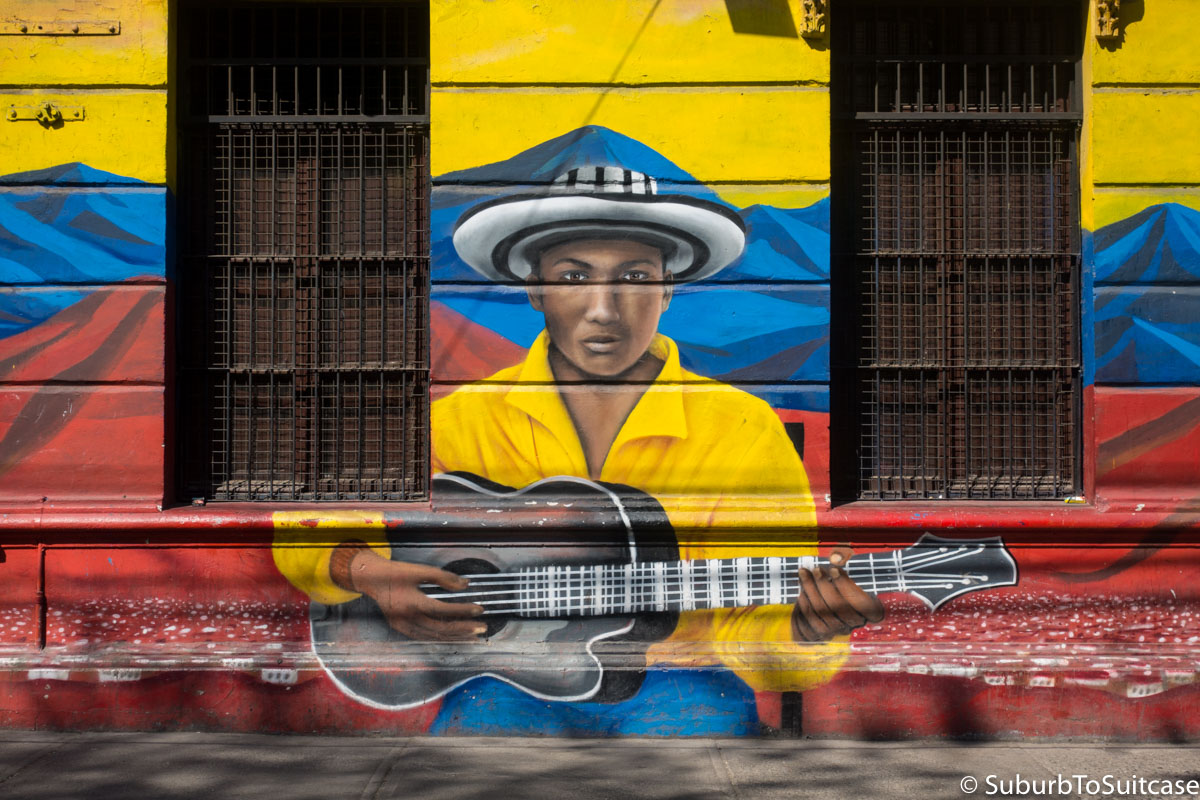
The airbrush effect looks so realistic
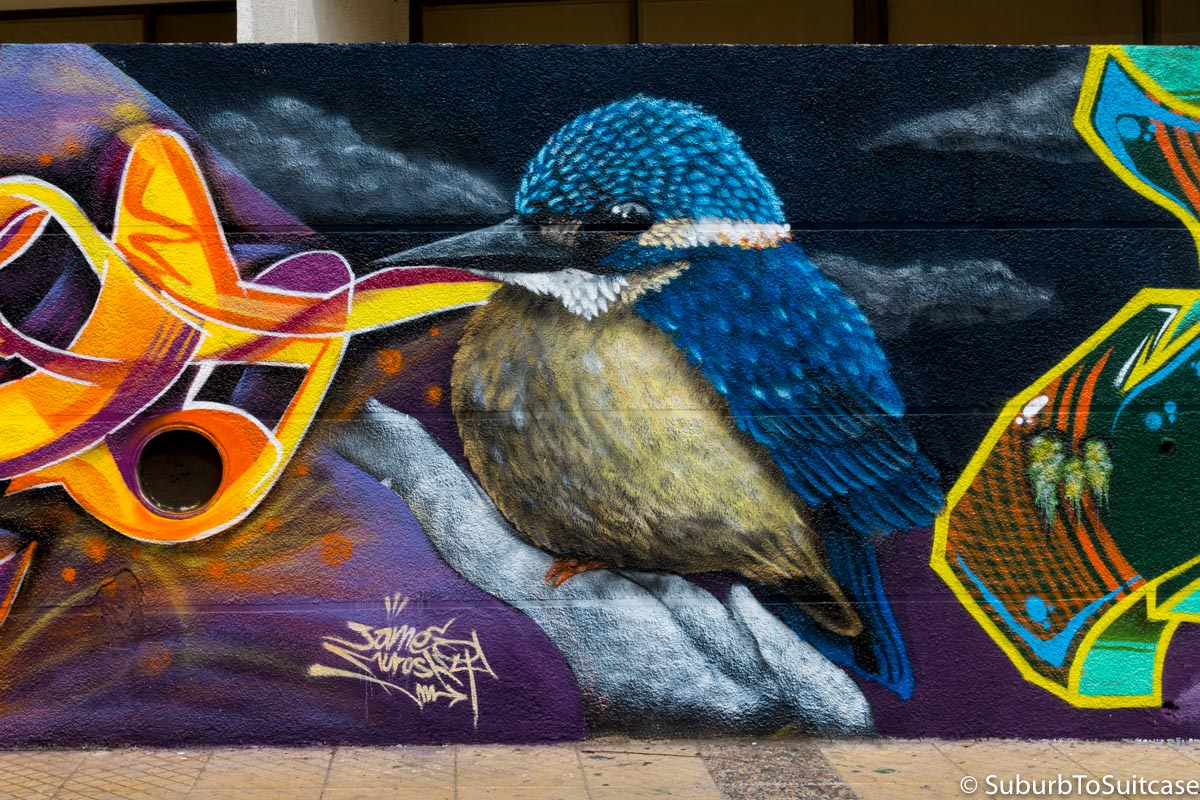
I always find a bluebird when I travel
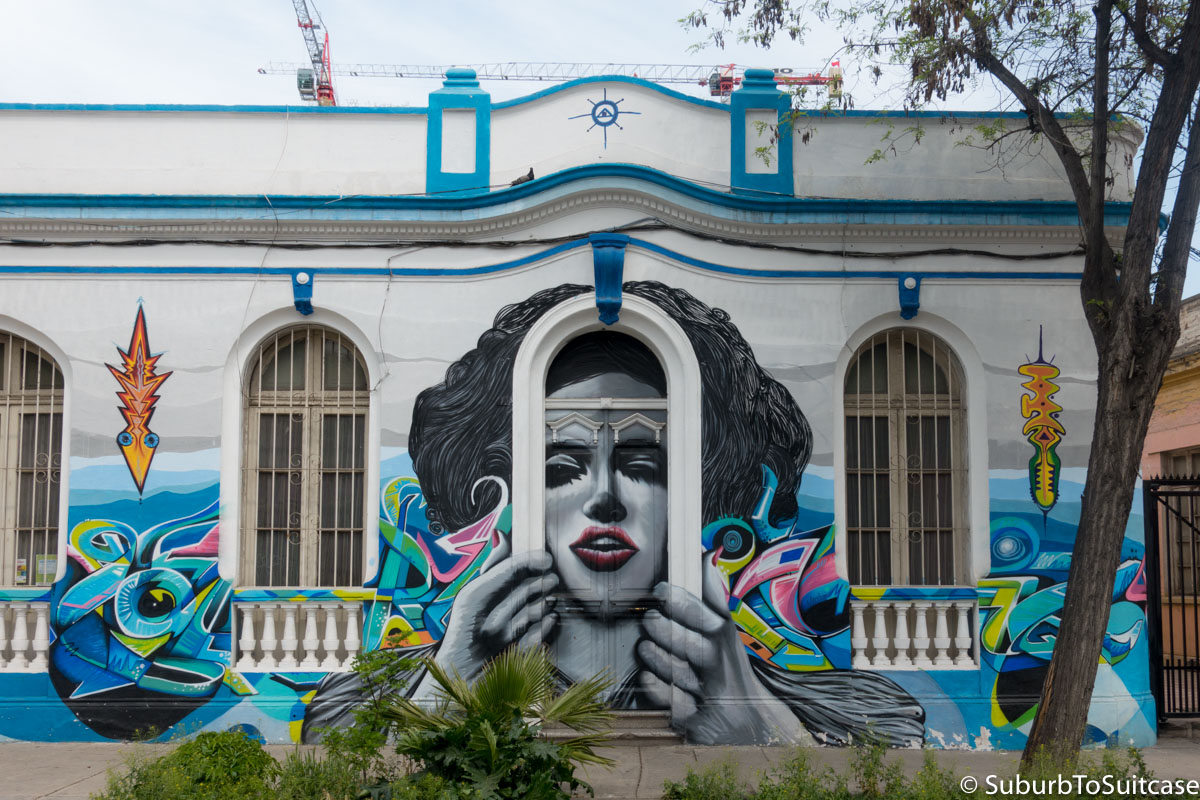
Loved the 3D effect

Fun mosaic
In the afternoon, tourists emerge and flock to Patio Bellavista which is an open-air set of restaurants, bars and shops. Past Patio Bellavista is the bridge over Rio Mapocho. One side of the bridge is lined with “love locks” and the inner banks of the river are painted with large murals. Across the bridge are parks with monuments, and beyond that, more restaurants, hotels, outdoor museums, theaters, transit centers, etc. The area is pedestrian-friendly and some roads are even blocked off for bicycle traffic only. The city is safe and walkable by day, but as with any congested area, it makes sense to be cautious and avoid becoming a victim of pickpocketing, since most tourists here look like…well…tourists.
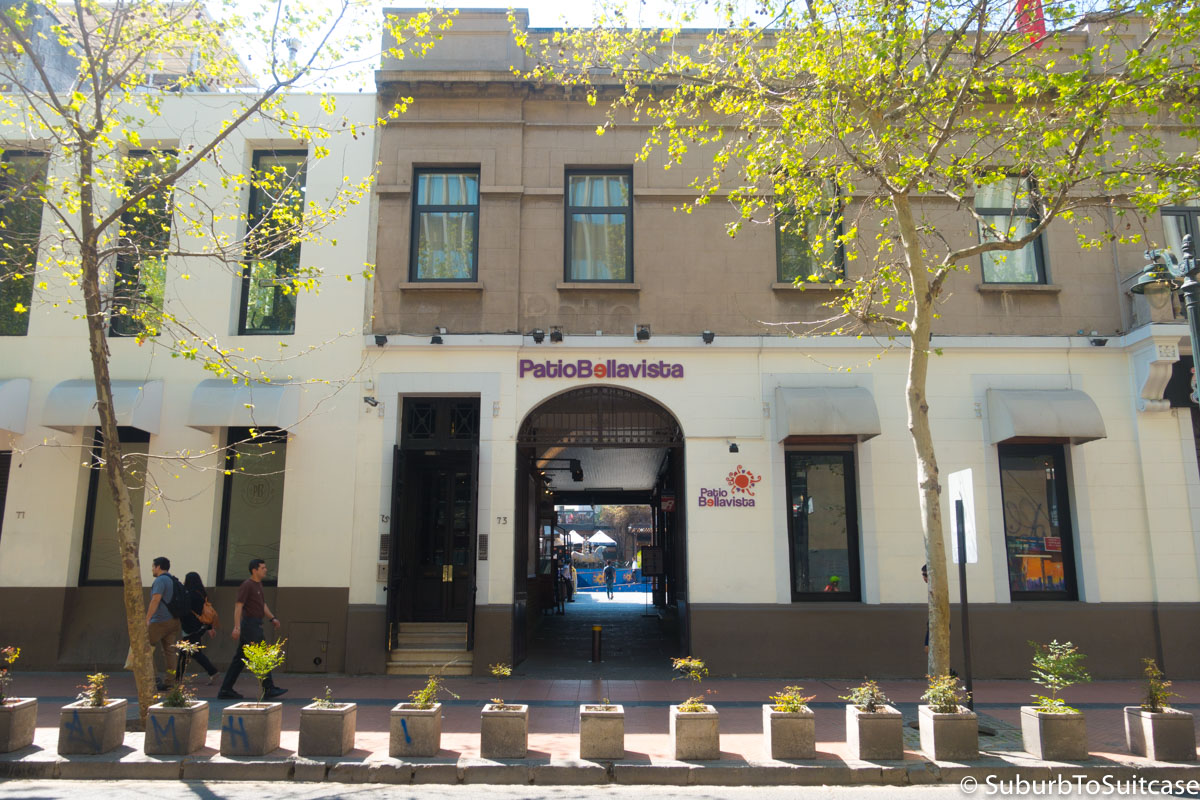
Entrance on Pio Nono
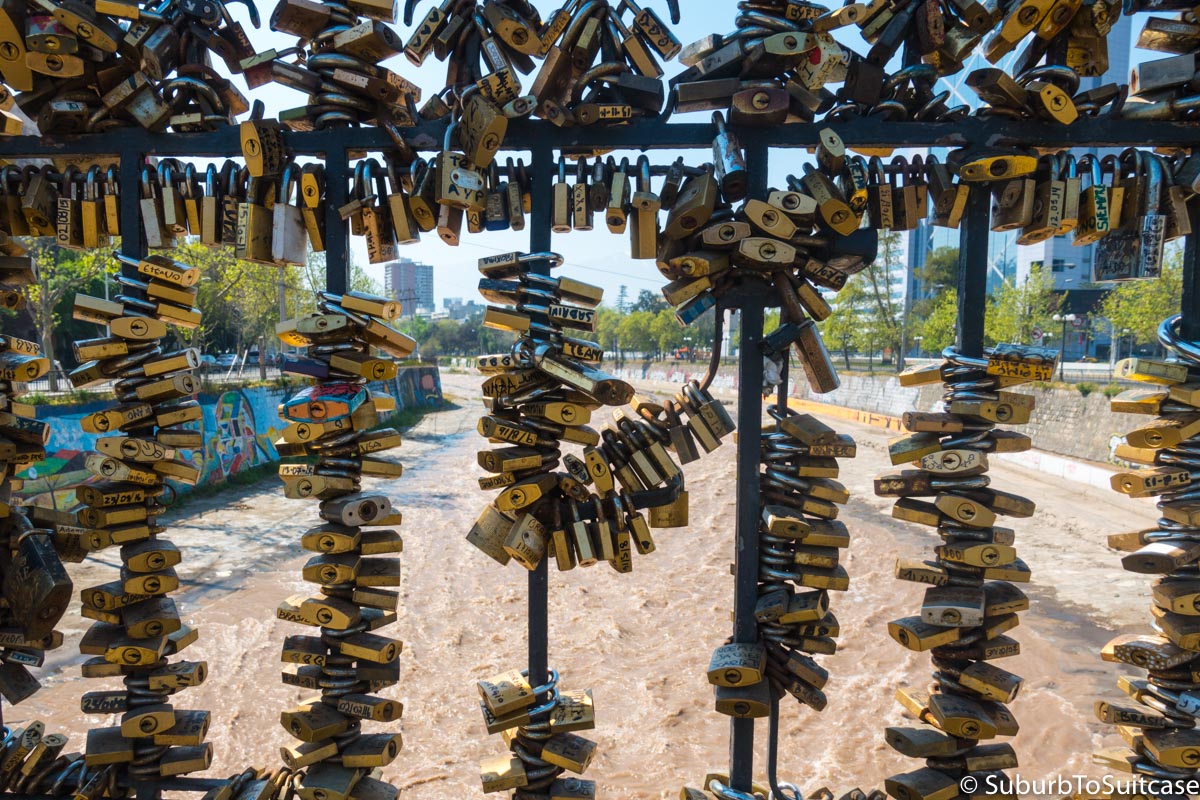
Love locks on Pio Nono Bridge
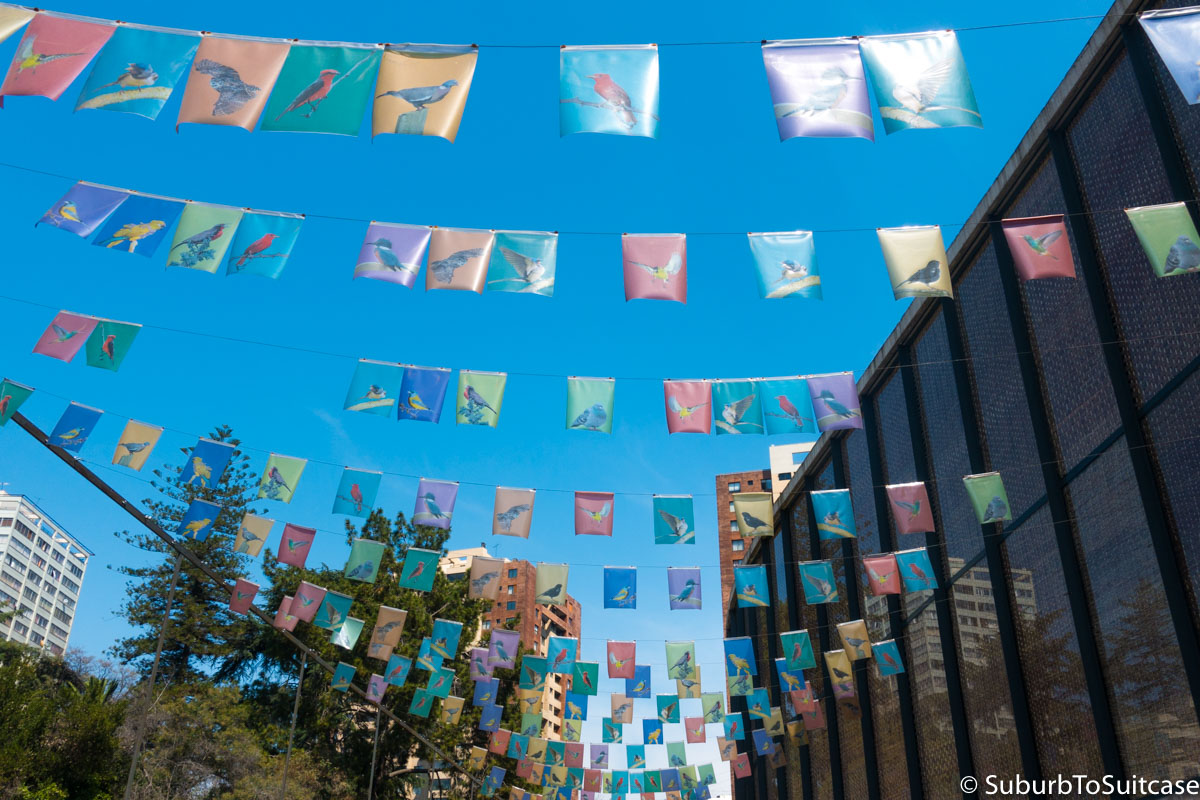
Flags over outdoor art walk at Museo Violeta Parra
Easter Island
After my time in Santiago, I ventured to Isla de Pascua (also known as Easter Island). This was a full experience in itself, so I posted that travelogue separately here.
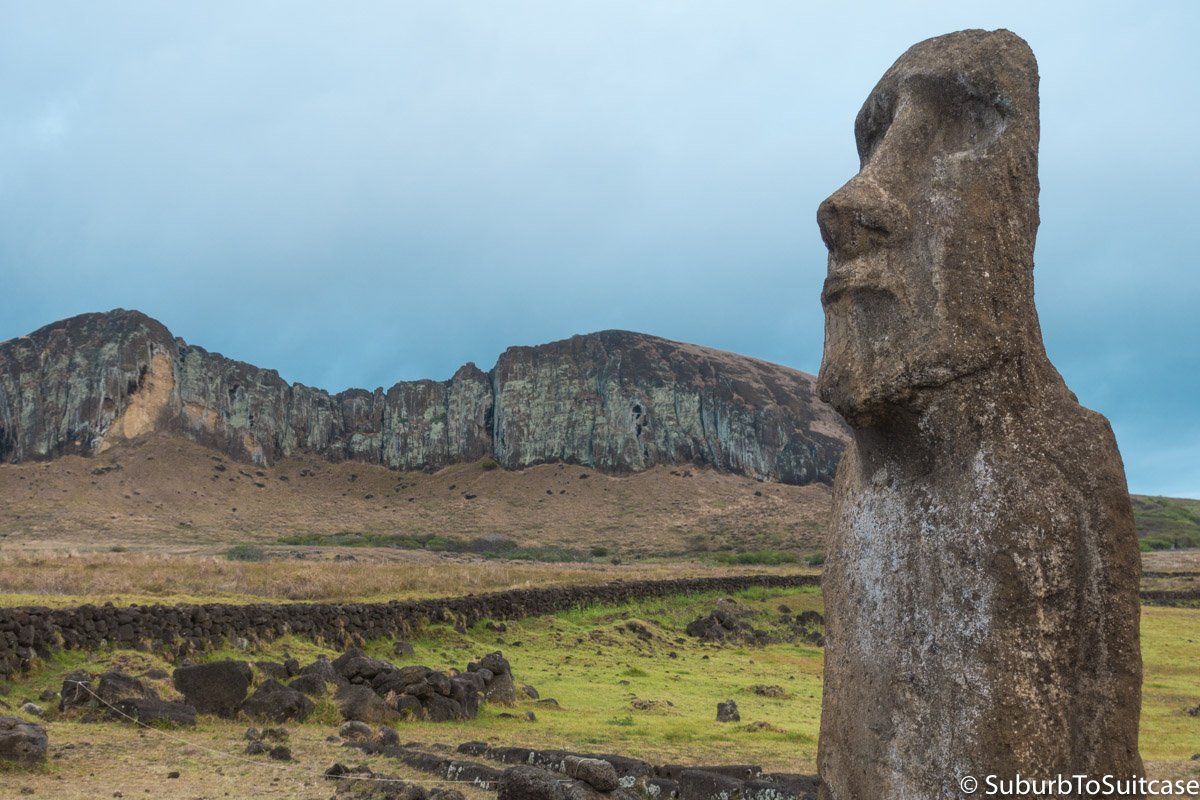
Moai on Easter Island
Patagonia
The beauty of Southern Chile, framed by the Andes mountains, is almost indescribable. There are two main routes to Patagonia (also known as Torres del Paine National Park), one by way of Chile and the other, through Argentina. My path involved a flight from Easter Island to Santiago where I slept in the airport, another flight from Santiago to Punta Arenas, a bus from Punta Arenas to Puerto Natales, another bus from Puerto Natales to Torres del Paine’s Laguna Amarga and finally, a shuttle from there to the trailhead next to Hotel Las Torres. Whew. While all of this could probably be managed on a whim with some flexibility in low season, I would recommend planning the navigation in advance to minimize downtime, especially in high season when there are significantly more visitors. I intentionally visited Patagonia during shoulder season because there are fewer tourists at that time of year. The compromise is cooler weather, but that said, Patagonia weather is known for its unpredictability anyway.
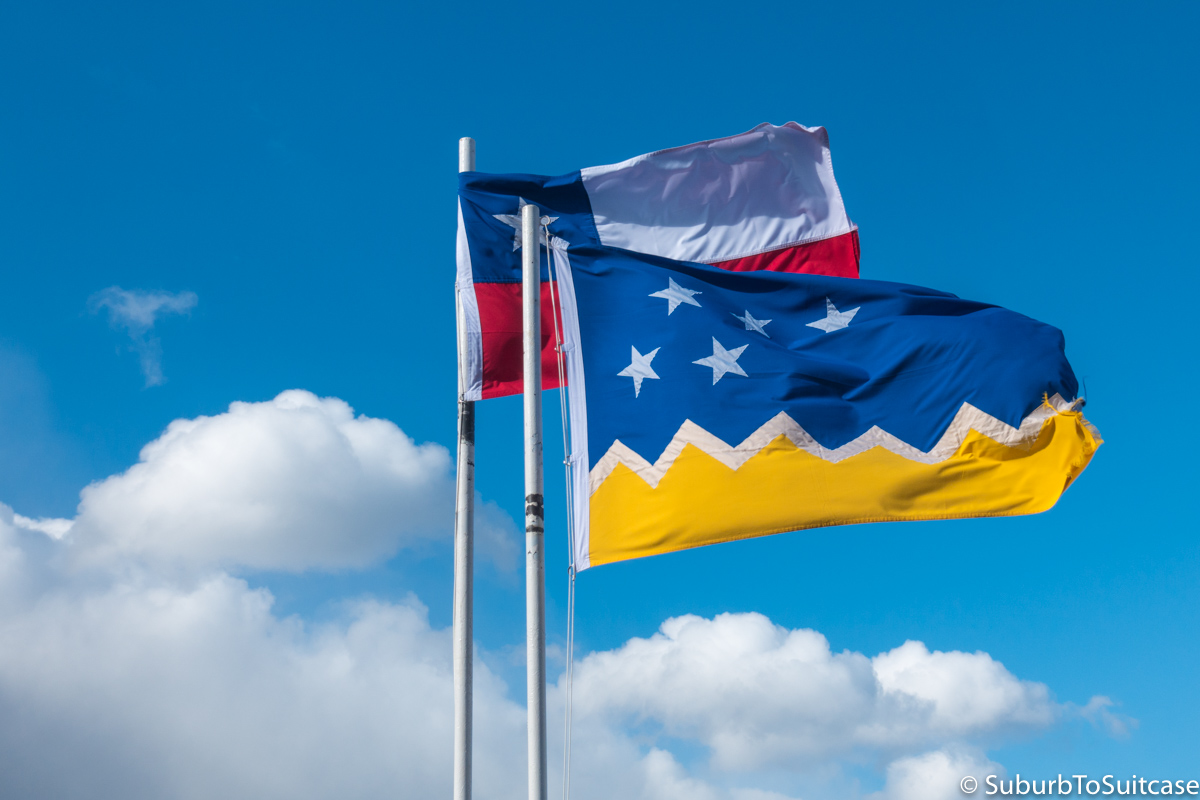
Flags of Chile (background) and the Magallanes and Antártica Chilena Region in Patagonia (foreground)
There are different ways to explore the park, depending on your comfort tolerance, hiking confidence, time and available budget. Some options include day trips from Puerto Natales, guided day hikes from one of the hotels on the perimeter of the park, guided multi-day treks or as a fully self-guided experience. I traveled solo on this journey and opted for a self-guided trek which saved me thousands of dollars but this experience could have been even less expensive with a camping option and a shorter duration. My objective was to complete what is knowns as the “W trek” or “W” which describes a specific pattern of trails. I opted for the route from West to East in order to tackle the most strenuous part of the trek first (the climb to Las Torres) but it is also possible to progress East to West, saving Las Torres for last.
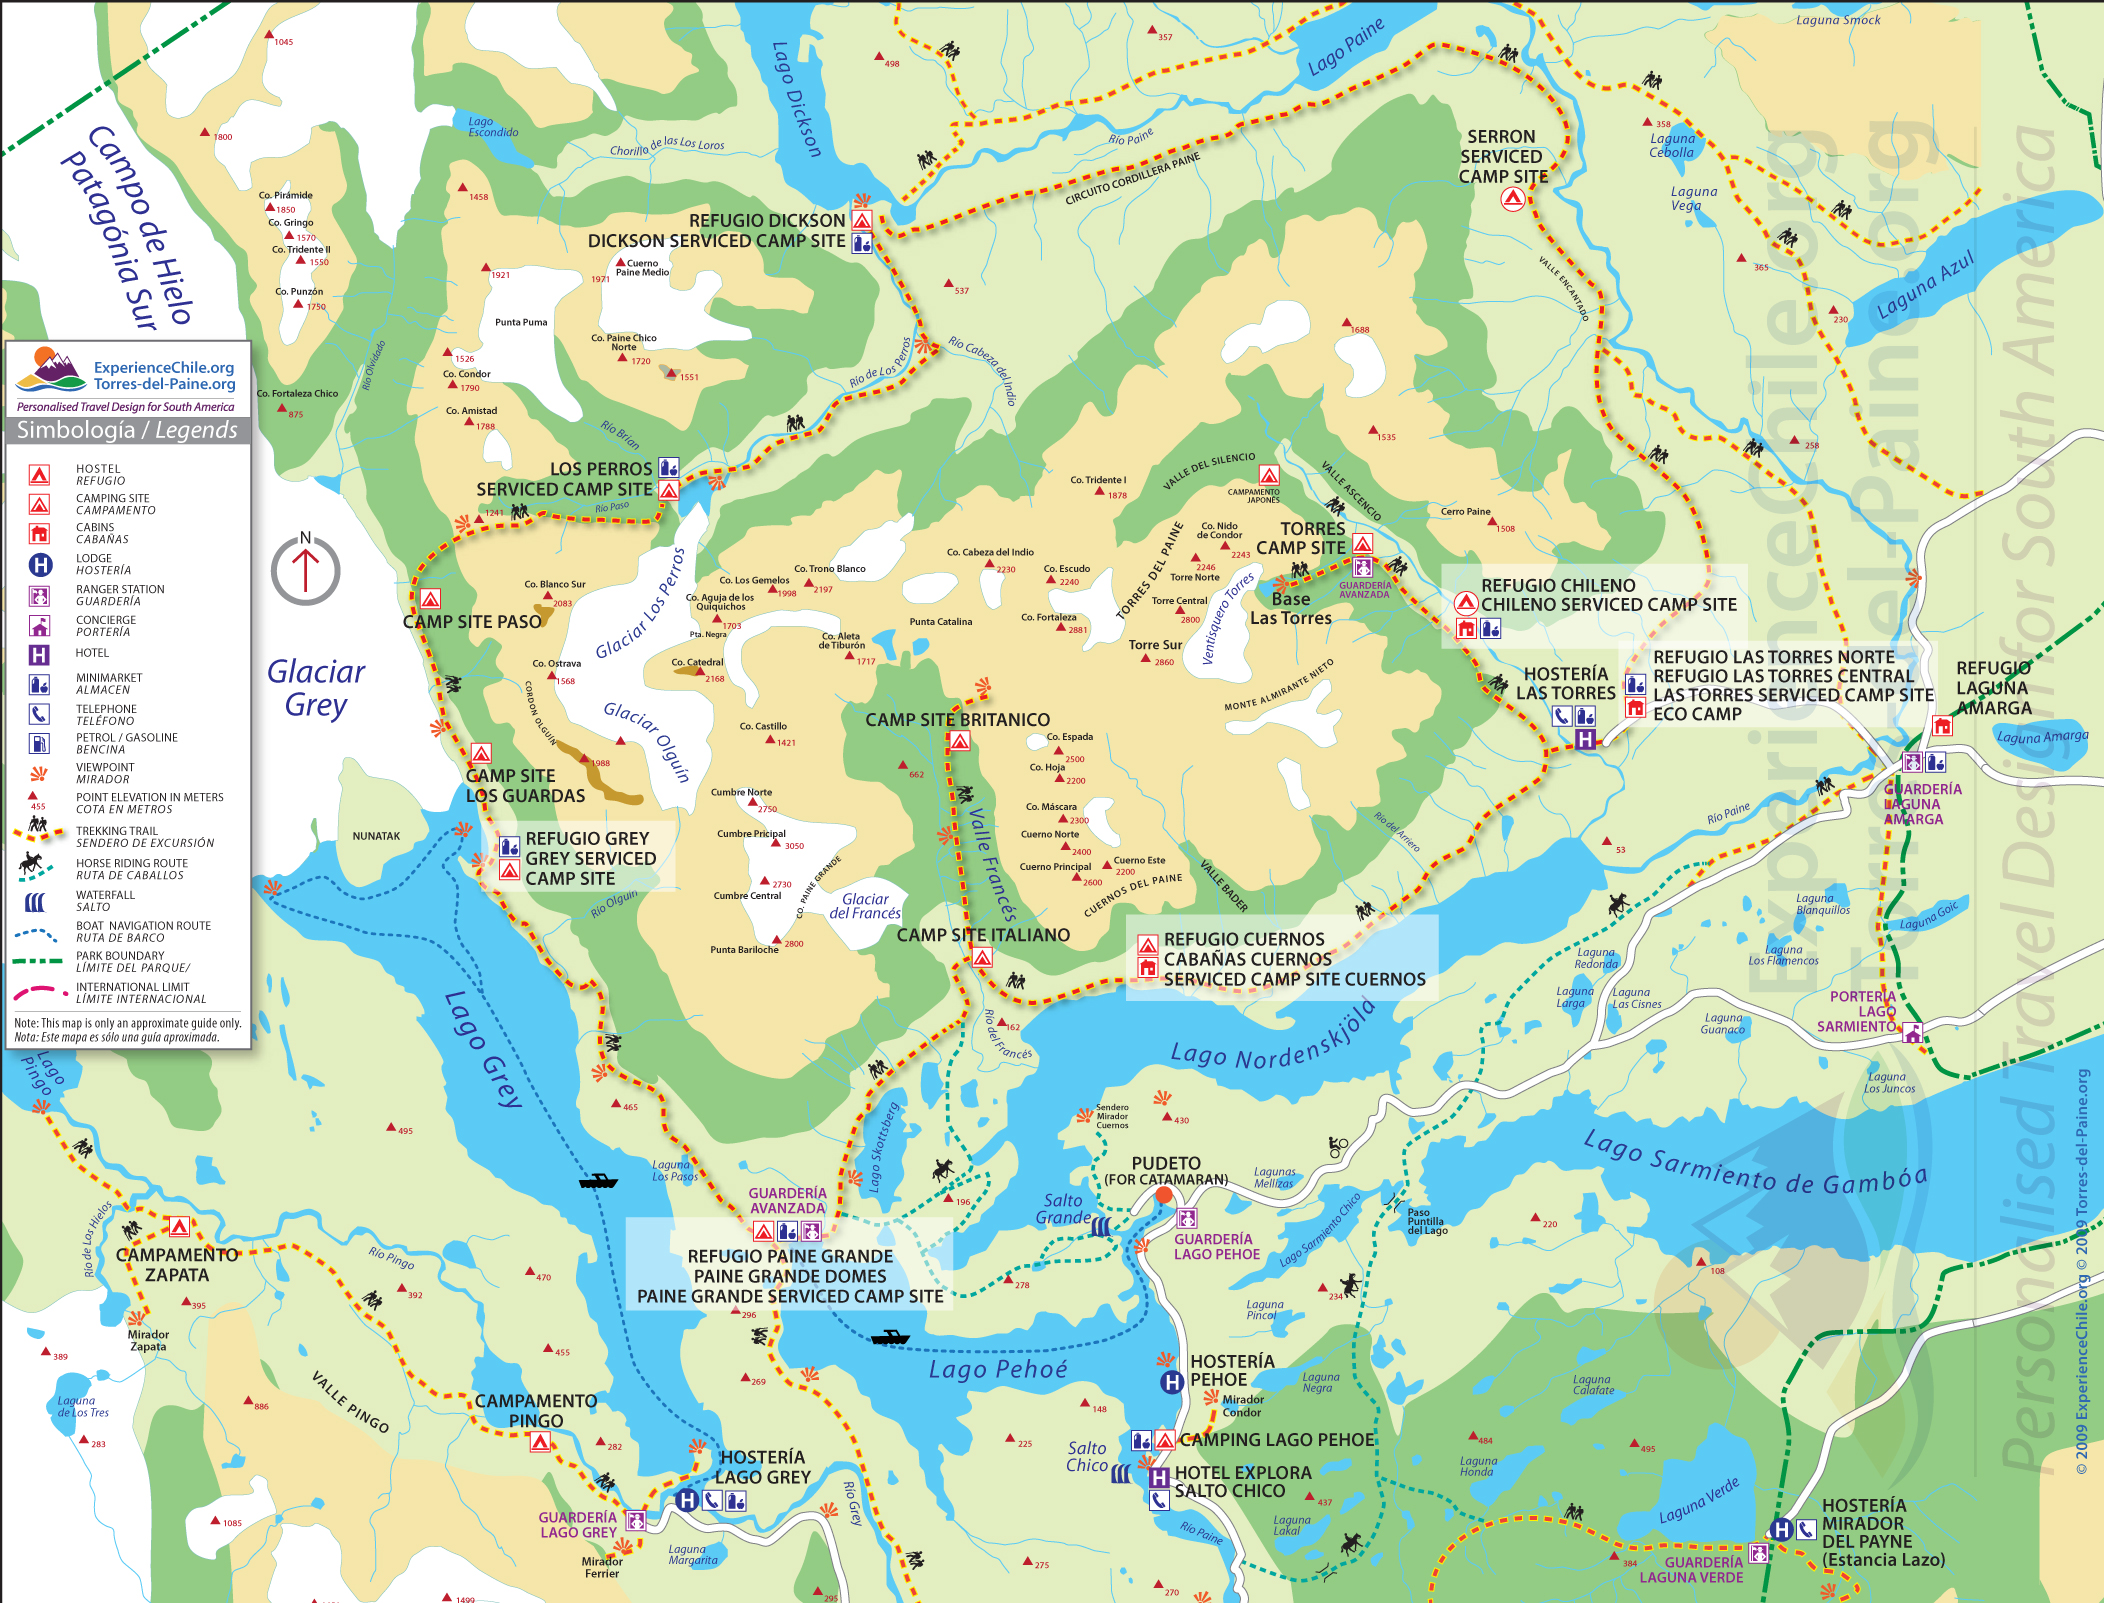
Torres del Paine Map (downloadable from torresdelpaine.org)
The “W” is a multi-day through trek which means carrying everything on your back and staying at different locations each night. It is possible to camp but I chose the refugio (pronounced “reh-few-hee-oh”) option which is a hostel/shared lodge style accommodation where you sleep in bunk beds and can select meal options including packaged lunches for the trek so you do not need to cook on your own. The refugios are reasonably comfortable with warm showers and the food is good, albeit quite pricey.


Access to fresh water along the trek is not a problem. In fact, the water flowing in the streams is from the glacier above so it is some of the cleanest water on the planet – you just need to be sure to catch it upstream in your water bottle to avoid any downstream contamination. Fill a portable bottle whenever you find water along the trail and you will not be thirsty. There are plenty of places to stop to eat a snack that you packed in your backpack. You just need to contain any trash and bring it with you out of the park since there are no trash receptacles except at the refugios. And unless you want to be banned from Chile permanently (yes, this actually happened to someone once – not me), do not even think of burning anything while in Torres del Paine.
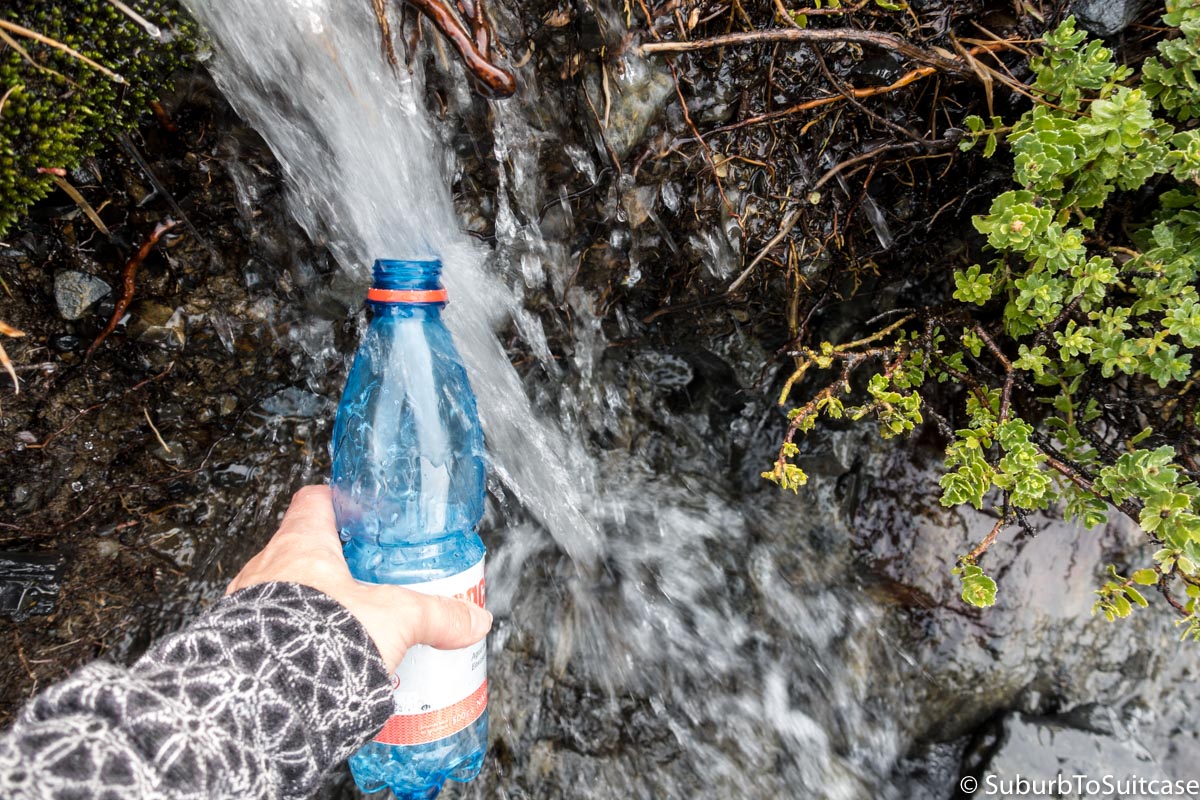
I had my collapsable water bottle as well as this one from Puerto Natales so I always just carried both to ensure I had a backup.
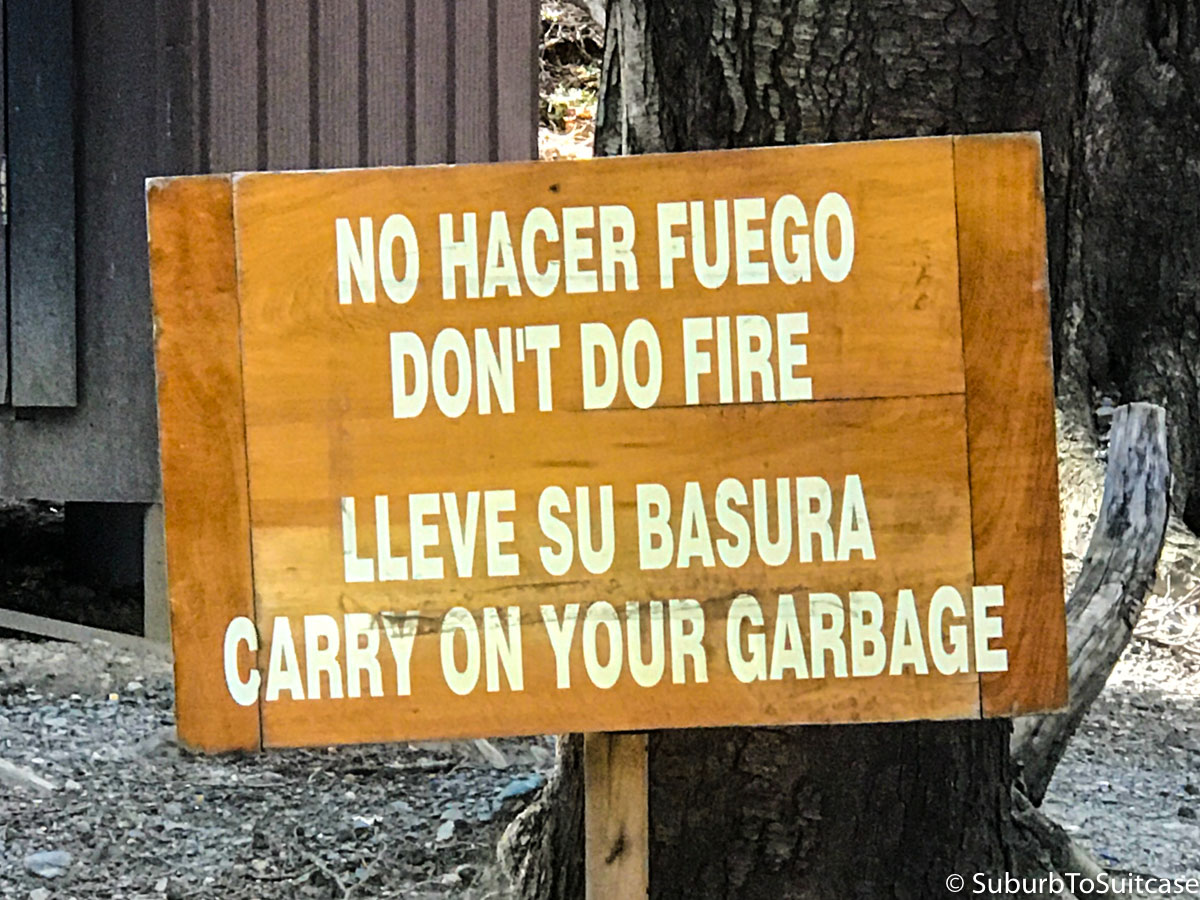
Reminders
So why trek Patagonia? Well, other than for the challenge itself, Torres del Paine National Park is a often referred to as the “8th Wonder of the World.” What could be better than amazing views and wildlife? I was hoping to see guanacos (Chilean llamas) and with some luck, the elusive puma since Torres del Paine is home to about 200. I spotted the guanacos right away – they are everywhere along the roads approaching the park. The puma, well, I got lucky. They are generally tucked away blending with their surroundings, and since they hunt at night, pumas can be rare to spot. There were actually two near the park entrance the afternoon I arrived. Our bus driver spotted one and while several of us were photographing, another emerged from the tall grass as a big surprise. It was a surreal experience as they courted each other near where we were standing and ultimately walked off together. Perhaps they were mates or family. It was raining lightly as we watched and I was shaking from excitement, so my photos are less than desirable.
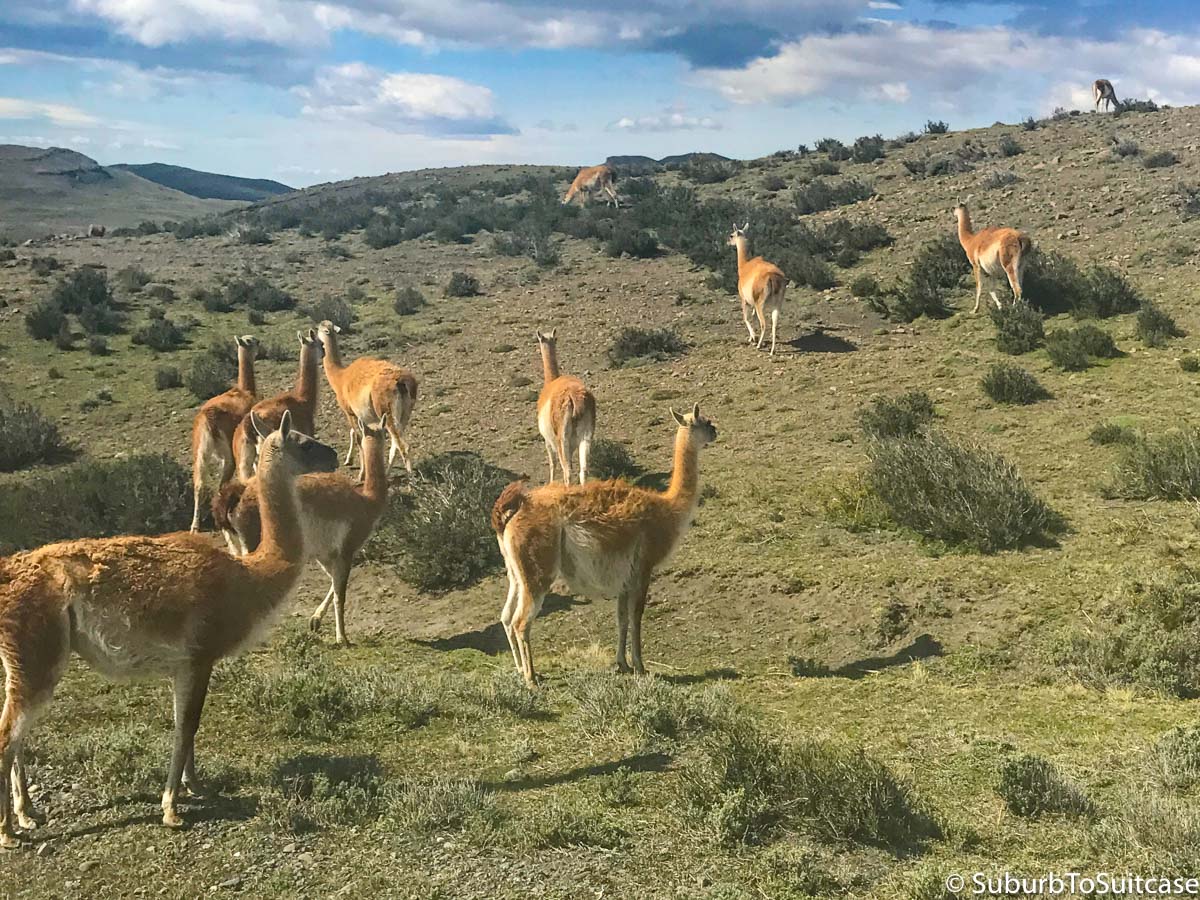
Guanacos
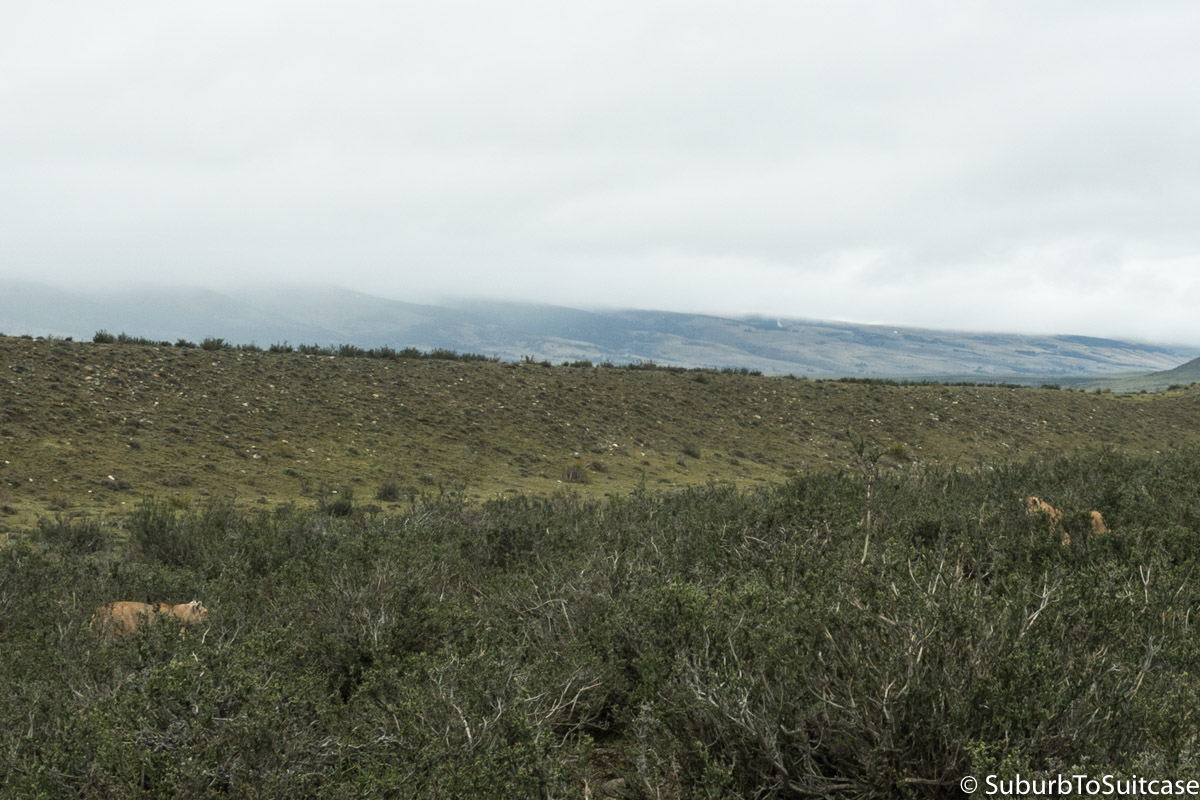
Puma emerging in the tall grass – so well hidden!
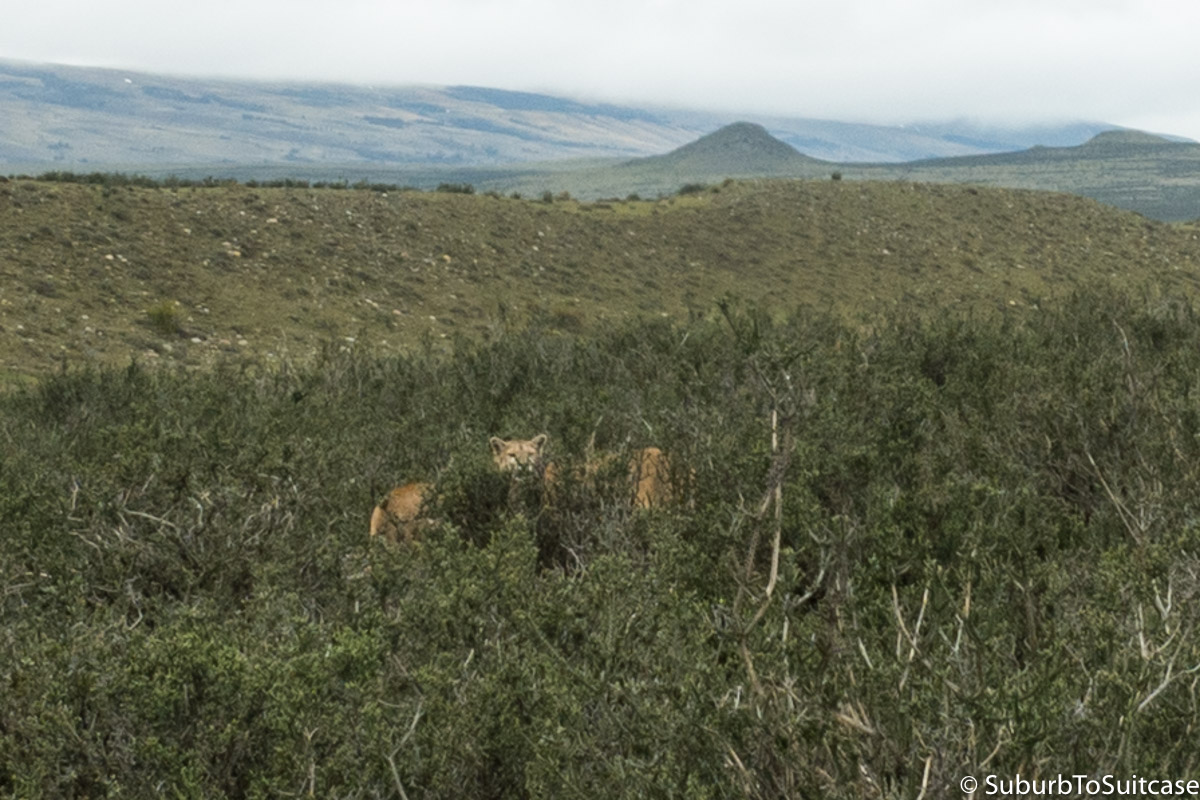
Flashing a quick glance as they met each other
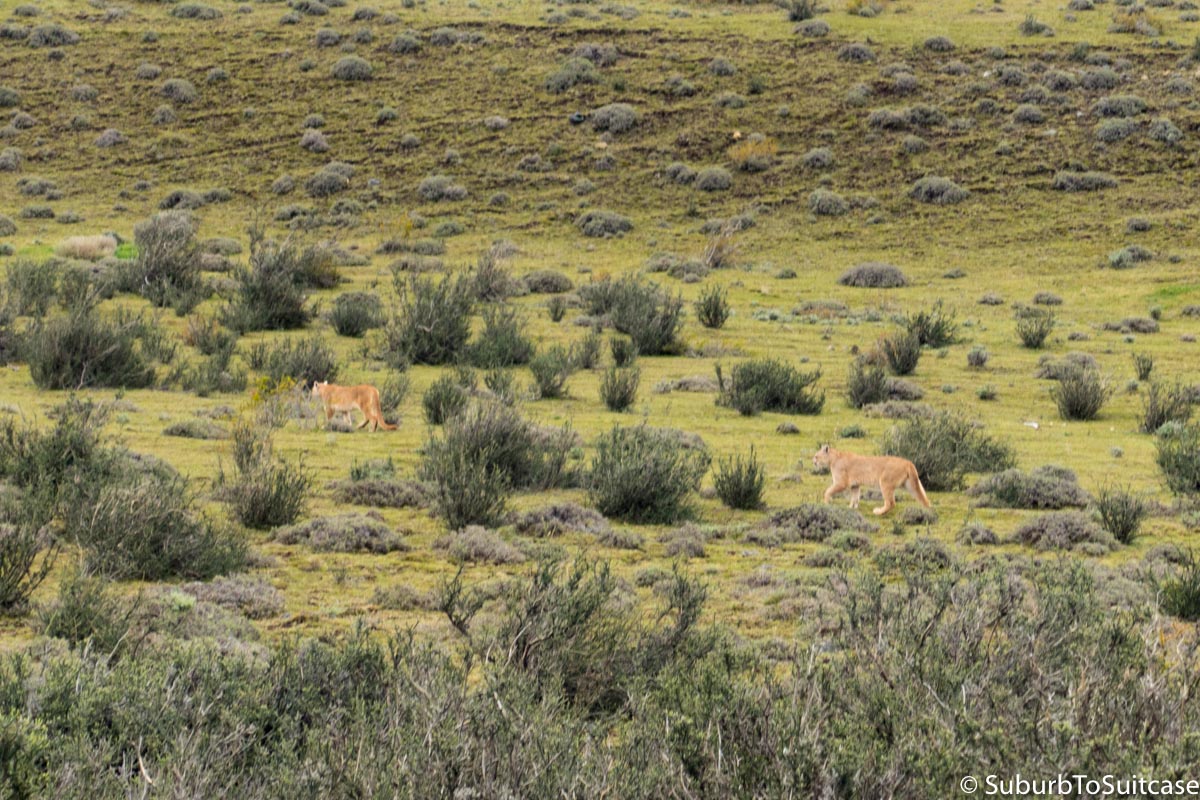
Size and scale can be tough to capture but check out the paw to leg ratio on the puma in back (HUGE)
After the puma, my next surprise at the park entrance was hearing that it was National Park Ranger Day so admission was actually free. I don’t even know if that’s a real day, but all of us were sent through free of charge. The adventure was off to a great start! Once we all arrived at the trailhead, the bus emptied and passengers dispersed, some to an eco lodge, some to the hotel and others to the first refugio. I spent one restful night with a good breakfast before starting the trek because I knew this was about to be a challenging experience. Here’s how it all went:
Day 1 – Hotel Las Torres to Mirador de Las Torres (13.5km or ~8.5 miles)
My objective on the first day was to hopefully make it to see the three towers (Torre Sur, Torre Central and Torre Norte) at the mirador. Because weather changes very quickly in Patagonia, it is nearly impossible to predict visibility over the peaks, so you just take your chances and see what you can see. Rather than starting the trek very early in the morning, I started climbing later because I had heard that sometimes in order to see the peaks, you need to wait for the sun to burn off the clouds. This strategy worked pretty well because there were several disappointed climbers coming back down from the mountain as I was headed up, saying they couldn’t see anything. The only drawback with the delayed departure approach is that you really need to be careful not to stay too late at the mirador because you don’t want to climb back down after dark.
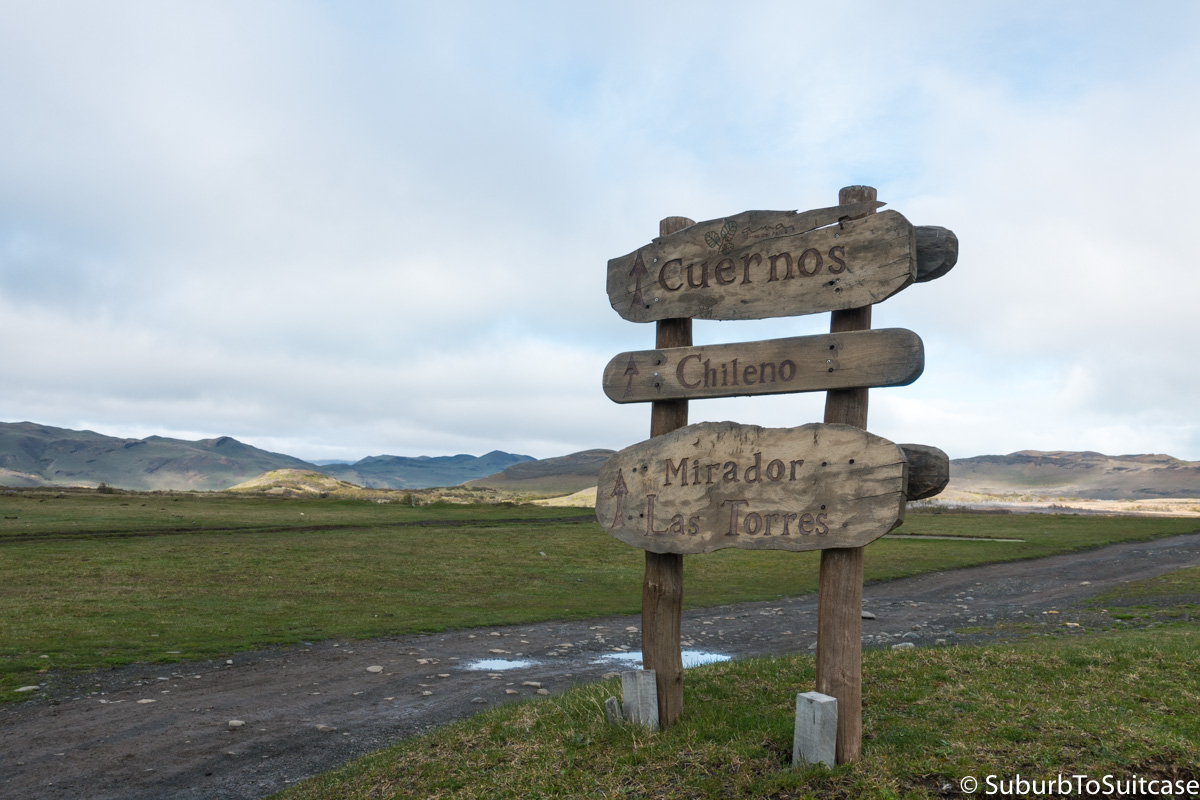
The beginning of the “W” (West to East)
The climb to the towers basically consists of two sections – the portion from the trailhead to Refugio Chileno and then from there to the mirador. Differences in terrain, elevation, weather and trail traffic can impact the duration of each segment. Both sections are consistently uphill, but so beautiful. It is during the first hour of climbing that you truly feel the weight of your pack. With each step, I found myself emotionally recalling each item I chose to bring with me and wondered, “Could I have done without that?” Glancing over your shoulder, you can see the deep turquoise colors of Lago Nordenskjöld emerge. Past the boulders, the trail goes along the edge of a sheer cliff with clouds at eye level and waterfalls in the distance. It is common to see horses here because they carry supplies (and sometimes serve as gear porters for climbers) to Refugio Chileno and back. During this first segment of the trek I paused several times just to breathe in the experience. I thought to myself more than once, “I can’t believe I’m really doing this. God, please protect me.”
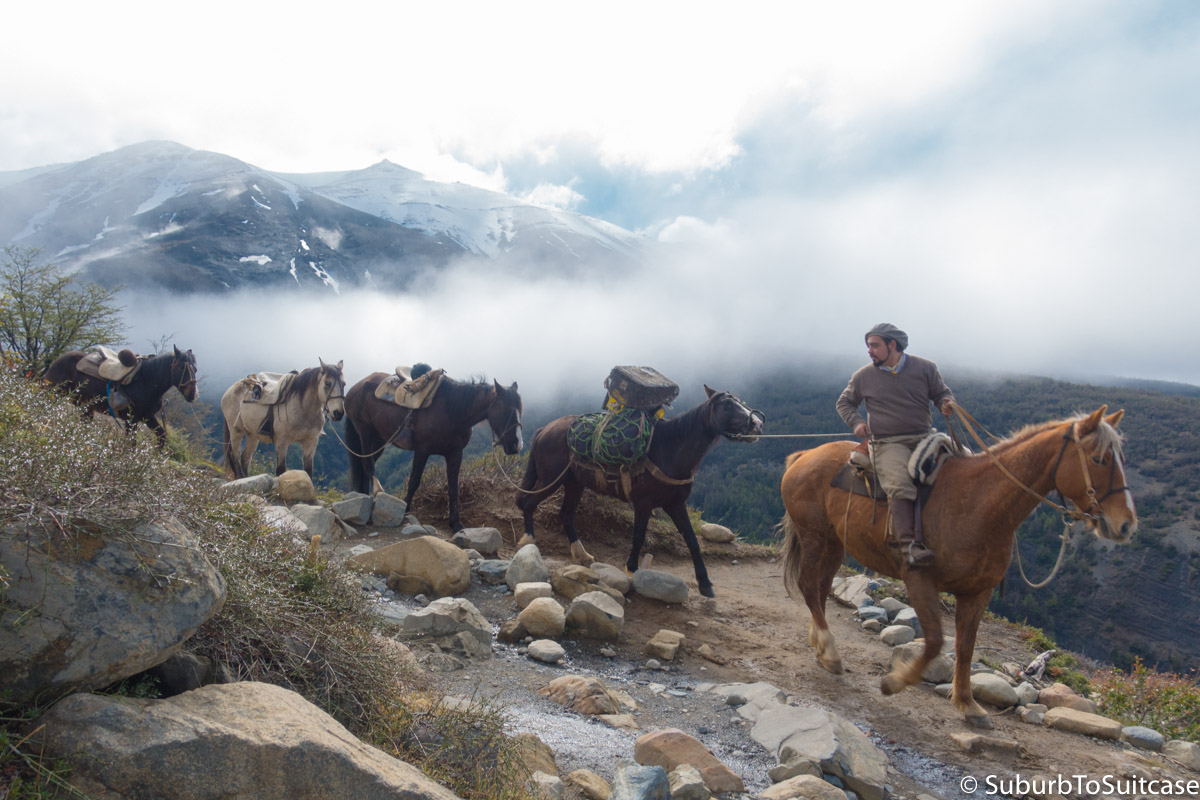
Allowing a gaucho (wearing a traditional boina beret) and his team of horses to pass on their way back down
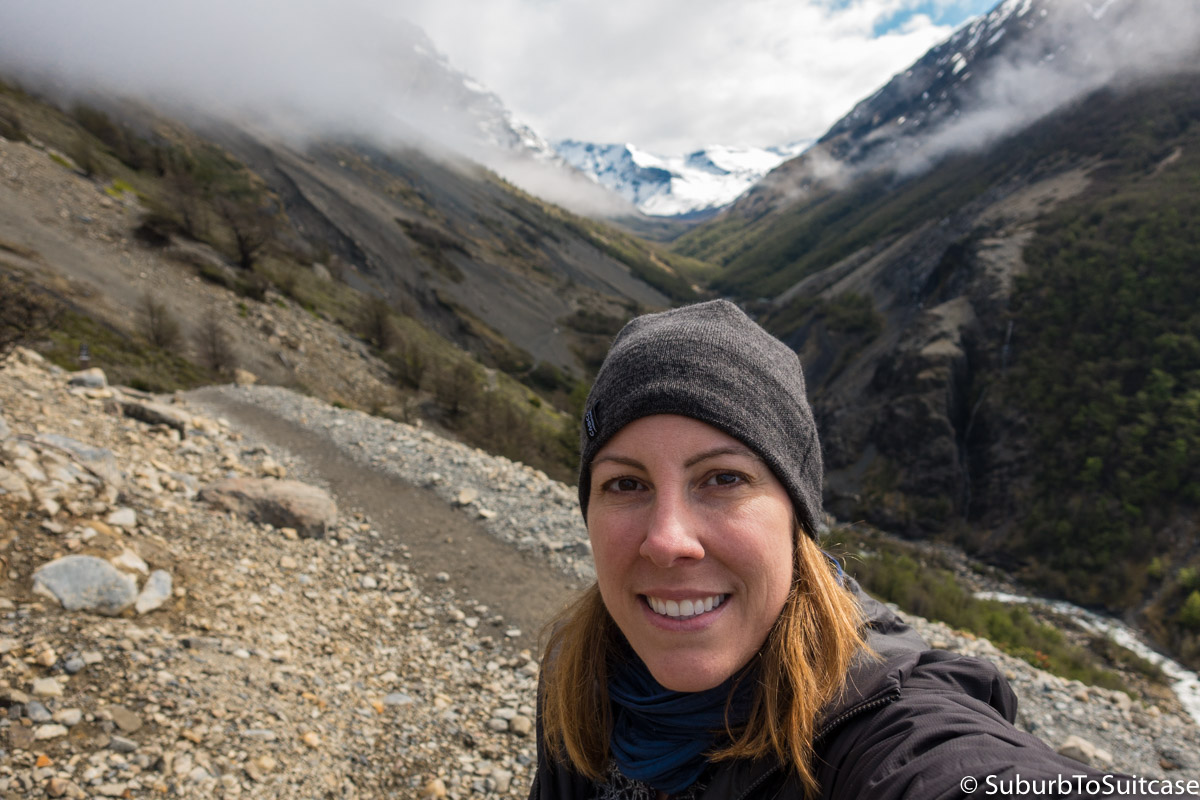
Me, about 2/3 of the way to Chileno
Reaching Chileno is a milestone where you can take a moment to stop, rest and drop your bag. You definitely want to leave your main backpack at the shelter and just take the minimum to the towers (daypack with water, food, headlamp and camera – wear your layers) because the next part of the climb is intense. Both excitement and adrenaline kick in now. The trail takes you through a forest, across bridges and streams and then the real climb begins. The last hour before reaching the mirador is the hardest, physically and mentally – it is a scramble over boulders, switchbacks over slippery pebbles and most areas have significant exposure. At the time of my climb, there was patchy snow and ice at the very top which made for some precarious steps.
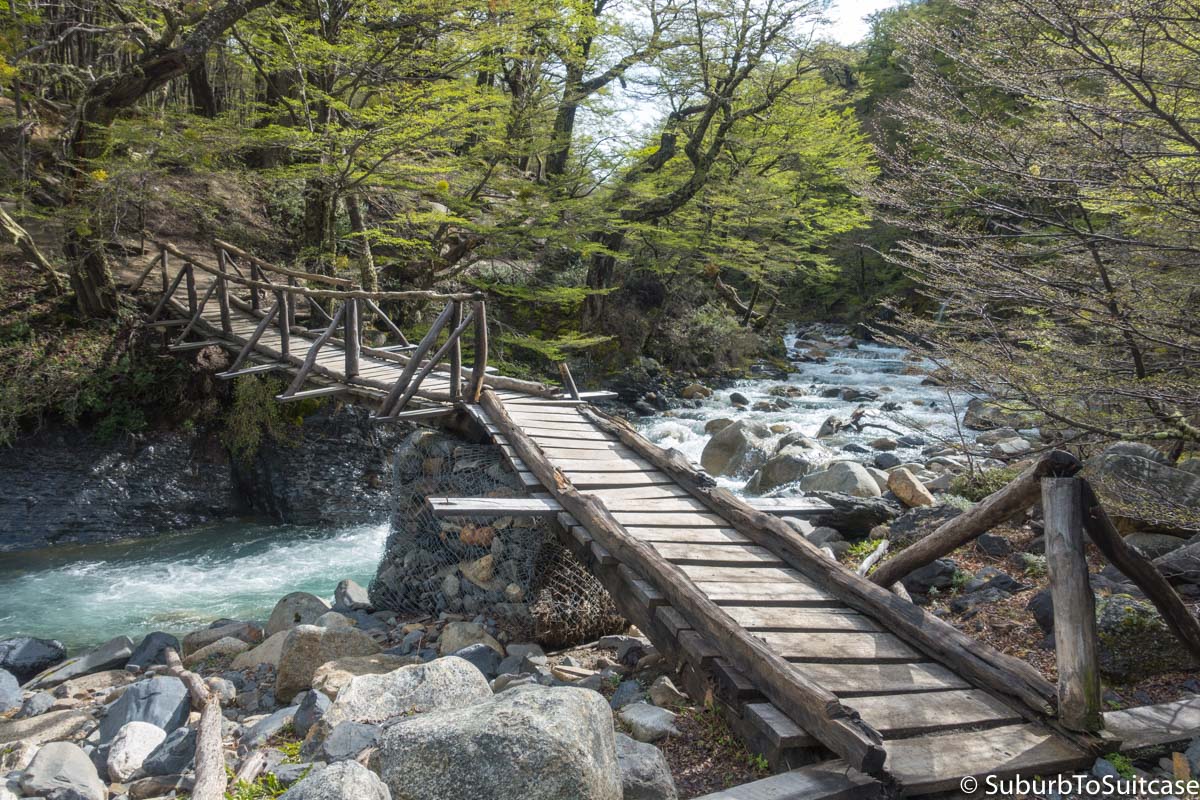
Bridge to the forest
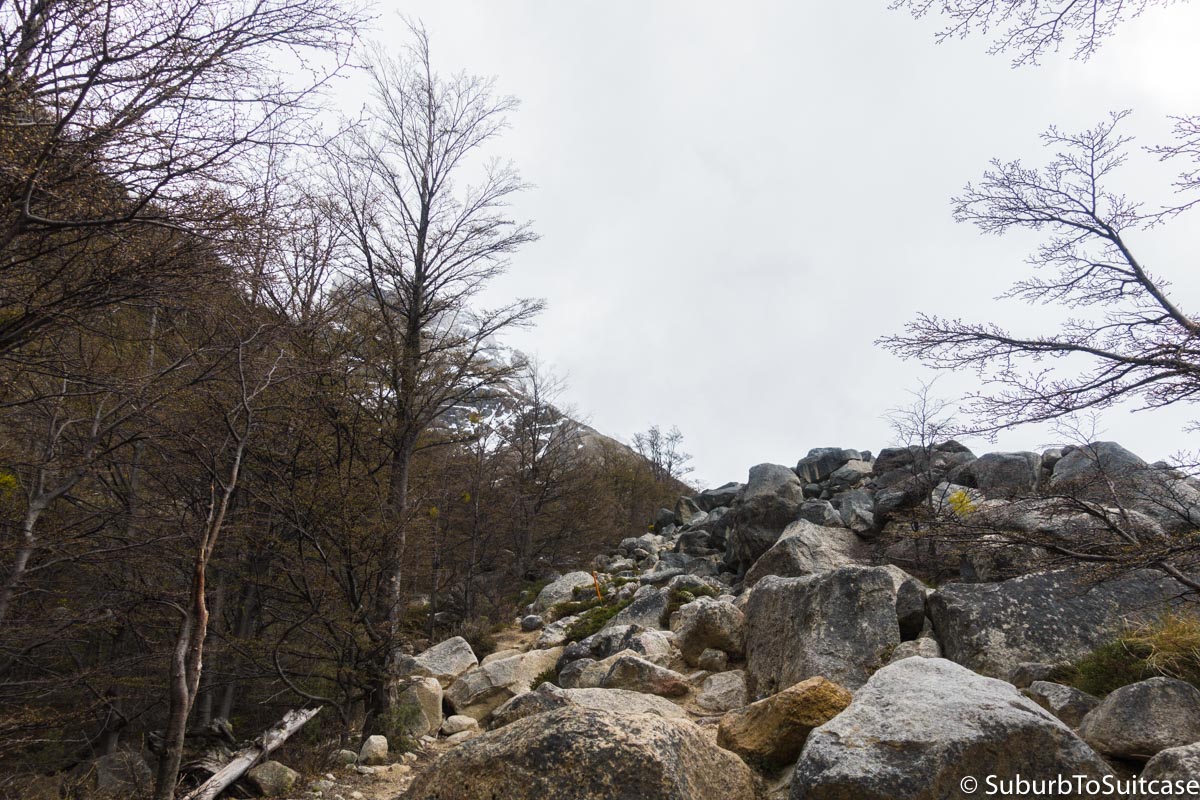
Part of the climb
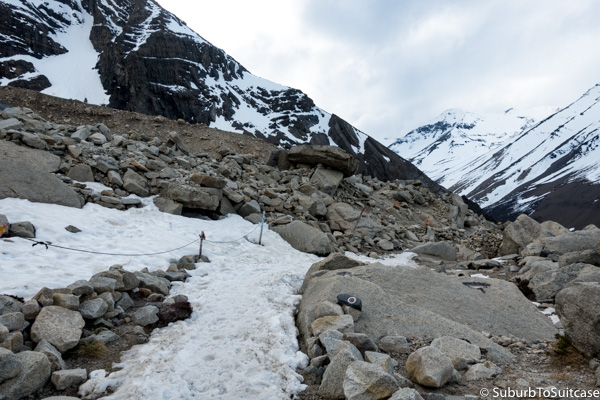
It all gets a bit more interesting with snow and ice
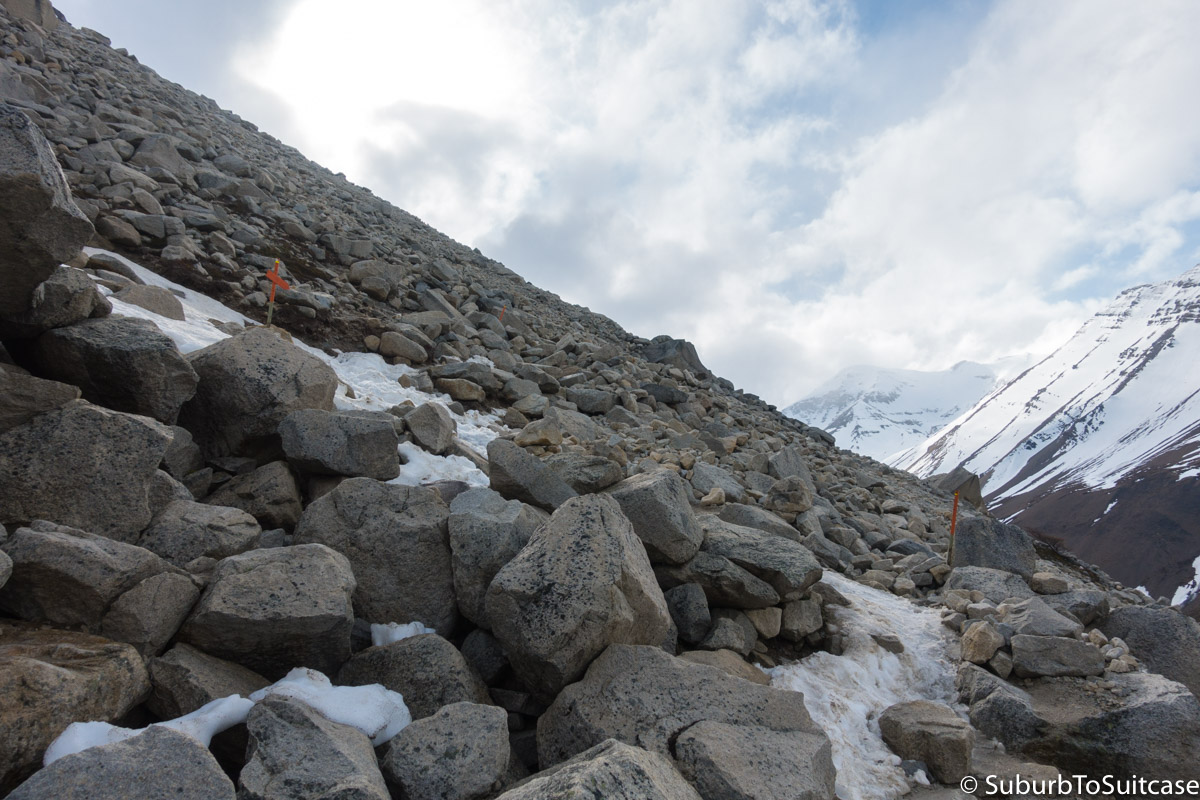
The orange flags are trail markers – this was the scariest part with the slippery snow
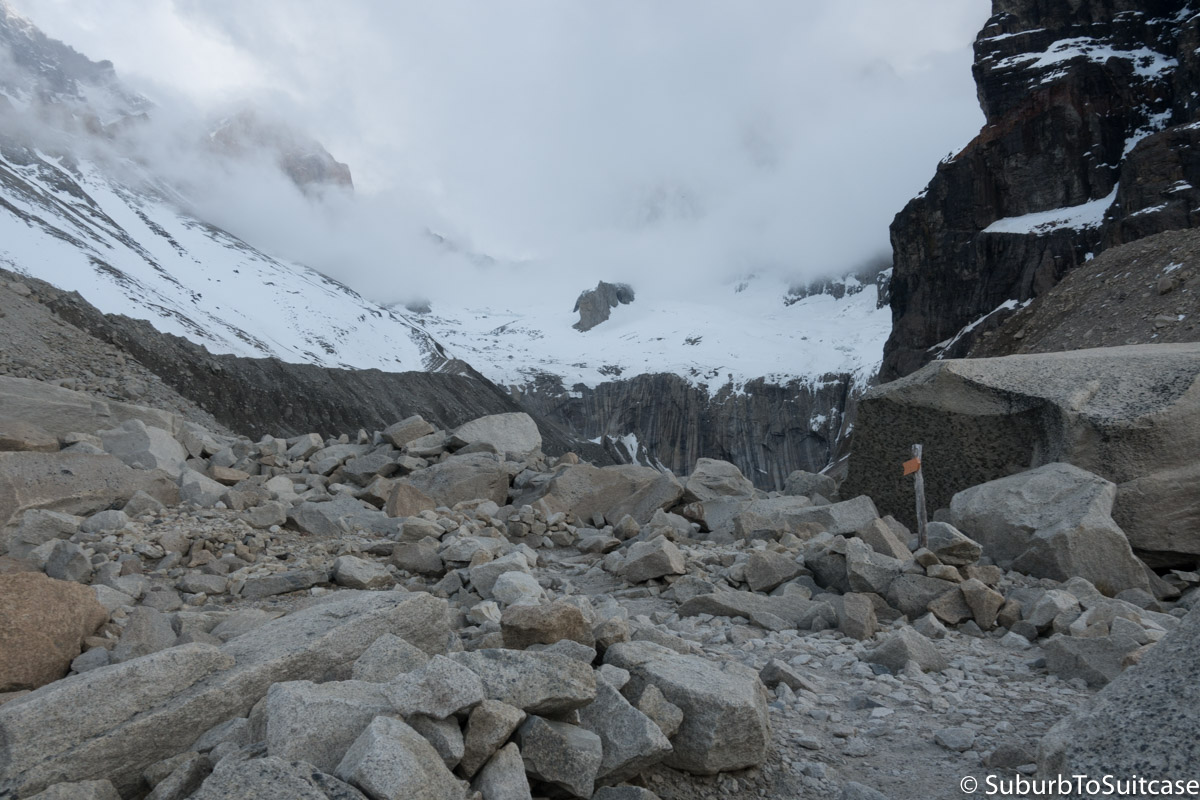
Beyond that last flag is the view and it feels AMAZING to get there!
The view at the top was amazing even though there were still some clouds present. The mineral rich glacial water in the lagoon glows a bright shade of green. I did not want to leave, but at some point, you have to turn around and go back down to ensure you have enough light on the trail. On the descent, you realize the full magnitude of the climb you just completed and take very deliberate steps back down. That evening, I spent the night at Refugio Chileno. This was the first night the refugio was open for the season and they made a special dinner for everyone to refuel. I quickly understood how cold it can get in a climber’s hostel where the only heat is a small wood stove in the dining area.
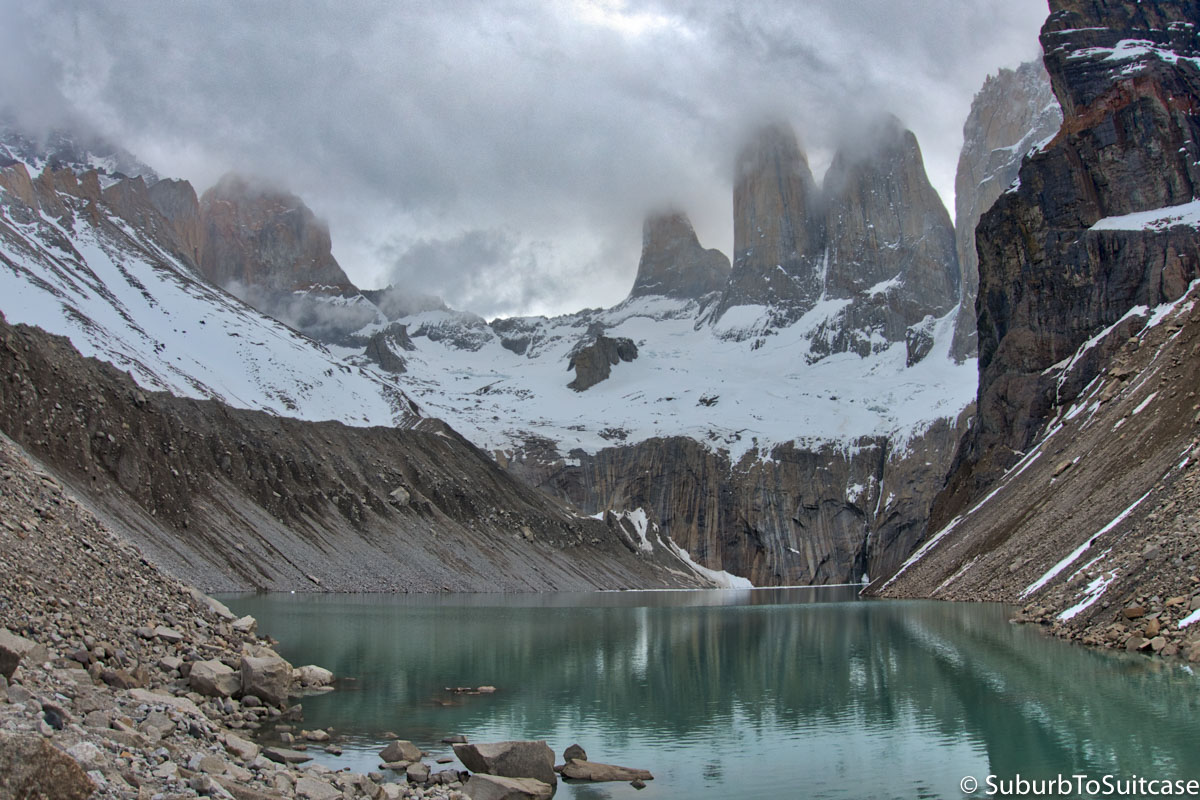
View of the three towers
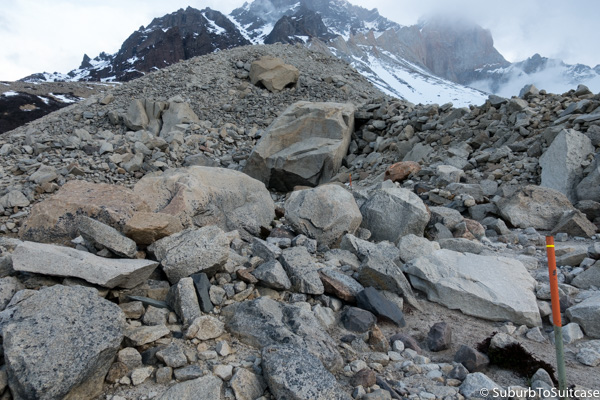
What goes up must come down…
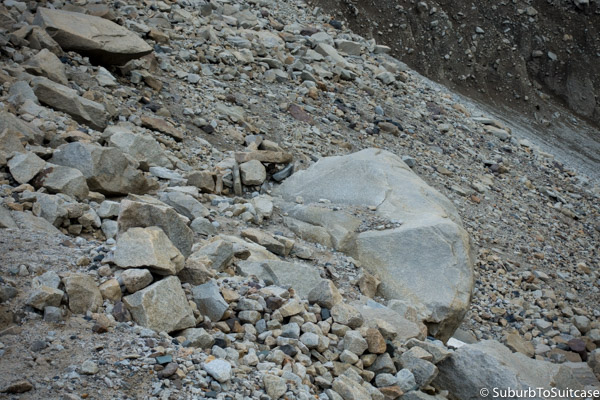
Trying not to tumble back down the mountain
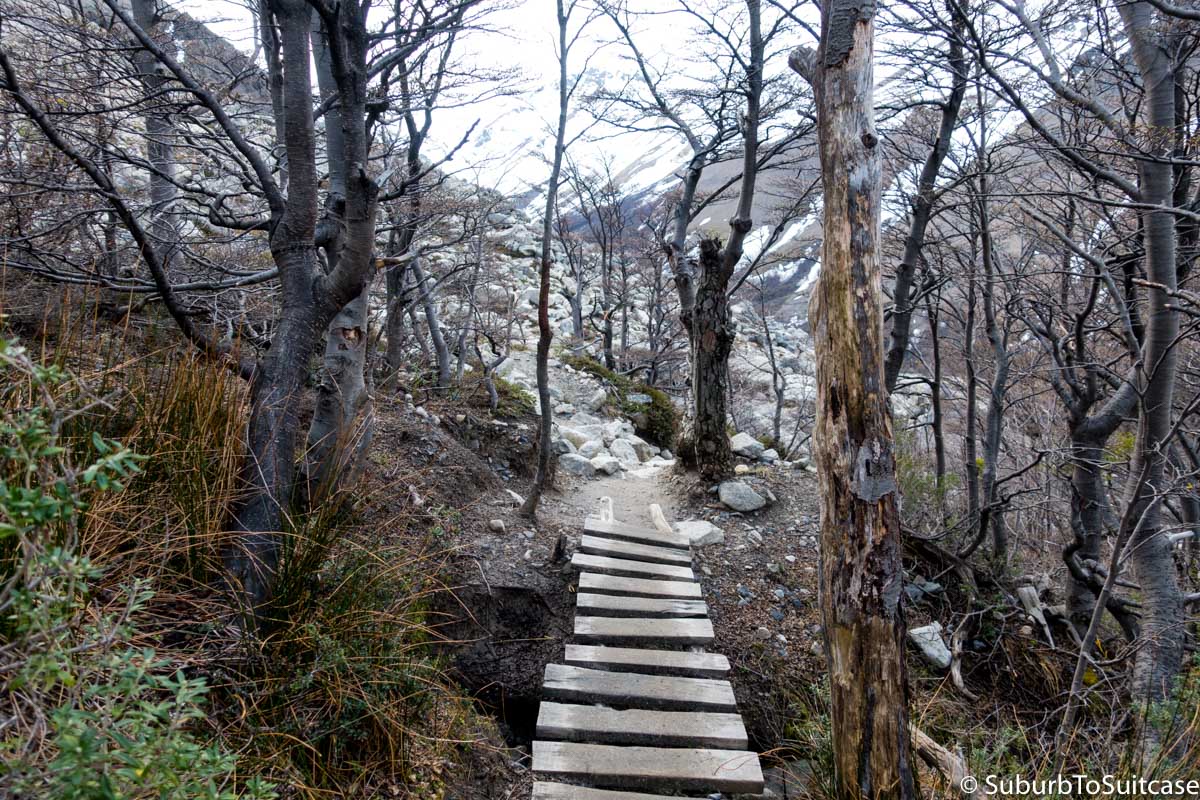
It was a bit of a race before dark
Day 2 – Refugio Chileno to Refugio Los Cuernos (13.3km or ~8.25 miles)
The next stop was Los Cuernos (the horns). From Chileno, this is a downhill then relatively flat trek. Instead of going all the way back to the trailhead near Hotel Las Torres, you take a shortcut marked with a small sign midway down the rocky climb. This split takes you through a lush moraine where you walk along the mountain foothills. Depending on the time of year, the flora and fauna can vary. My favorite colors to spot were the fuchsia berries on the chaura shrubs. I had read that these are edible, but I did not venture to test that information. Lago Nordenskjöld became my compass since it was almost always in sight. After this many hours of trekking solo, passing people on the trail became really comforting. A welcome smile, quick hello or brief chat was fun and energizing.
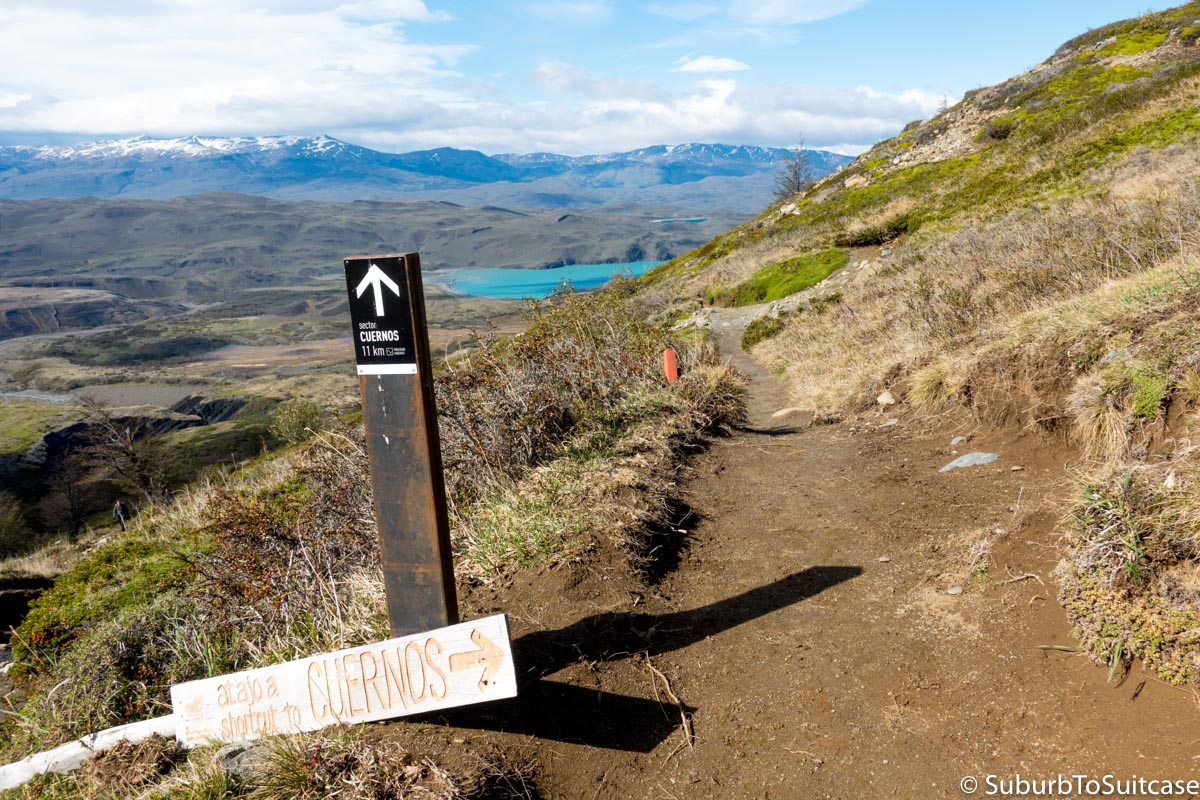
Shortcut to Cuernos (don’t miss this trail split!)
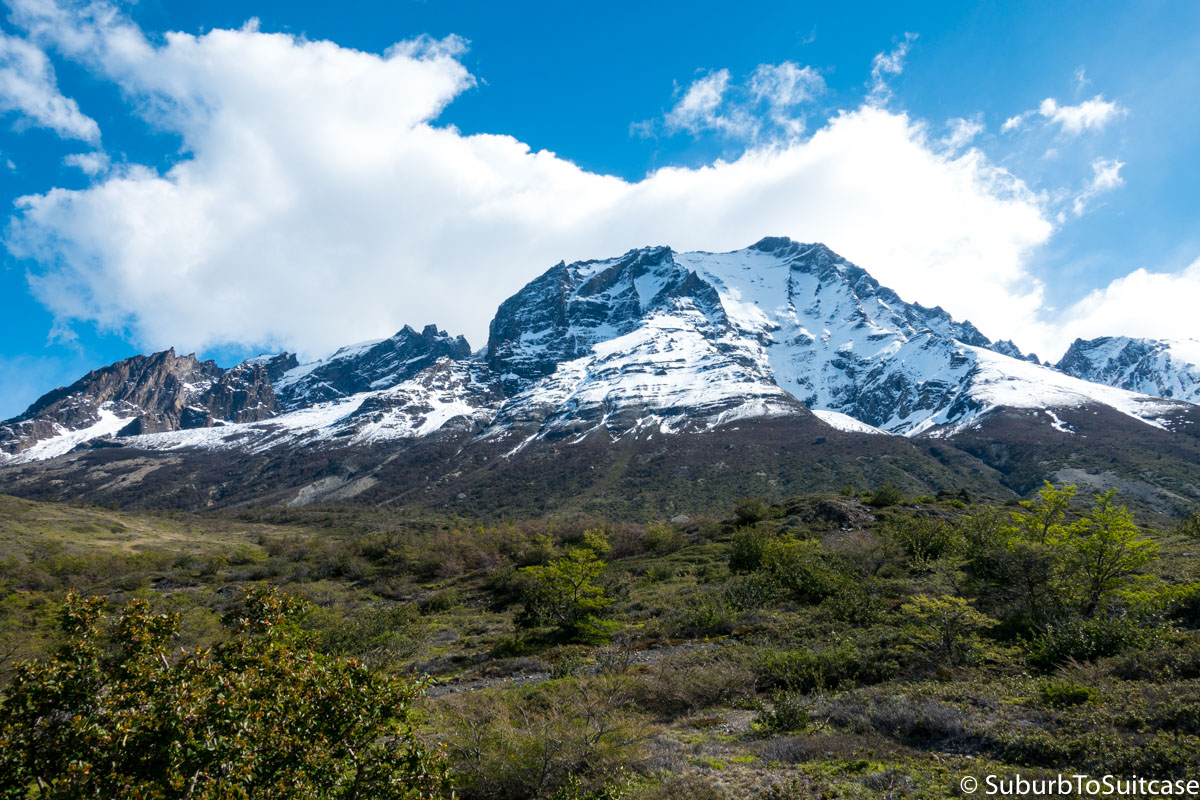
Not a bad view for a hike to Cuernos
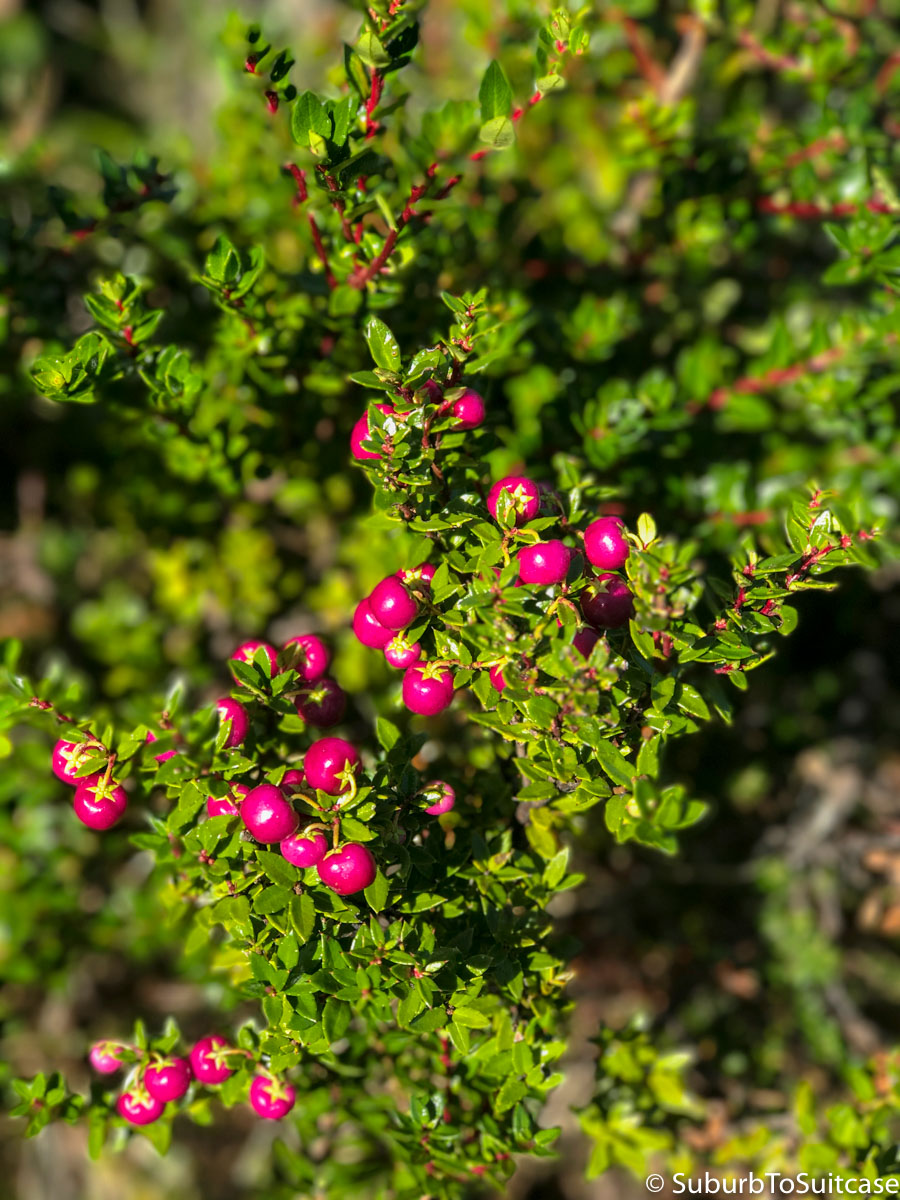
Chaura berries
About the time I thought, “Wow, today is an easy day,” I hit my first water crossing. While the trails in Patagonia are relatively well marked, it sometimes pays to assess an area before assuming you know where to go. Some of the trails get washed out from the glacial melt and sometimes the path is actually walking on top of the stream (yes, you read that correctly). Impromptu obstacles present periodically but generally, those who have passed before you have already found the best way to navigate so you can see an alternate path. There may be some sort of marker that you need to spot – it could be a set of branches flagged with colored tape or it could be some portable signs with arrows that don’t look like the rest of the permanent trail markers. Other times, it’s painted vertical sticks placed into the ground or just a well worn area where the ground or grass has been flattened out. Basically, whenever it starts to look confusing or improbable, you need to stop and assess your options. There is always a solution and it is nearly impossible to get lost in the park.
The reality of the experience is that sometimes you’re going to find the easy way to tackle an obstacle and sometimes, you’re going to look back on an area and realize you did it the hard way or worse yet, realize you’re off the trail accidentally and need to backtrack. I remember crossing a swamp area where I stepped into the marsh knowing it was likely soggy but didn’t realize with each step that the muddy water would rise well above my ankles. Ick. There were plenty more water crossings to follow so it did not make sense to even try to change my socks. The last portion of this day’s hike passed through a wind tunnel where the gusts were incredibly strong and the pace was slow. By the time I reached the refugio, my feet were wet and cold so it felt great to get clean and warmed up with a hearty meal.
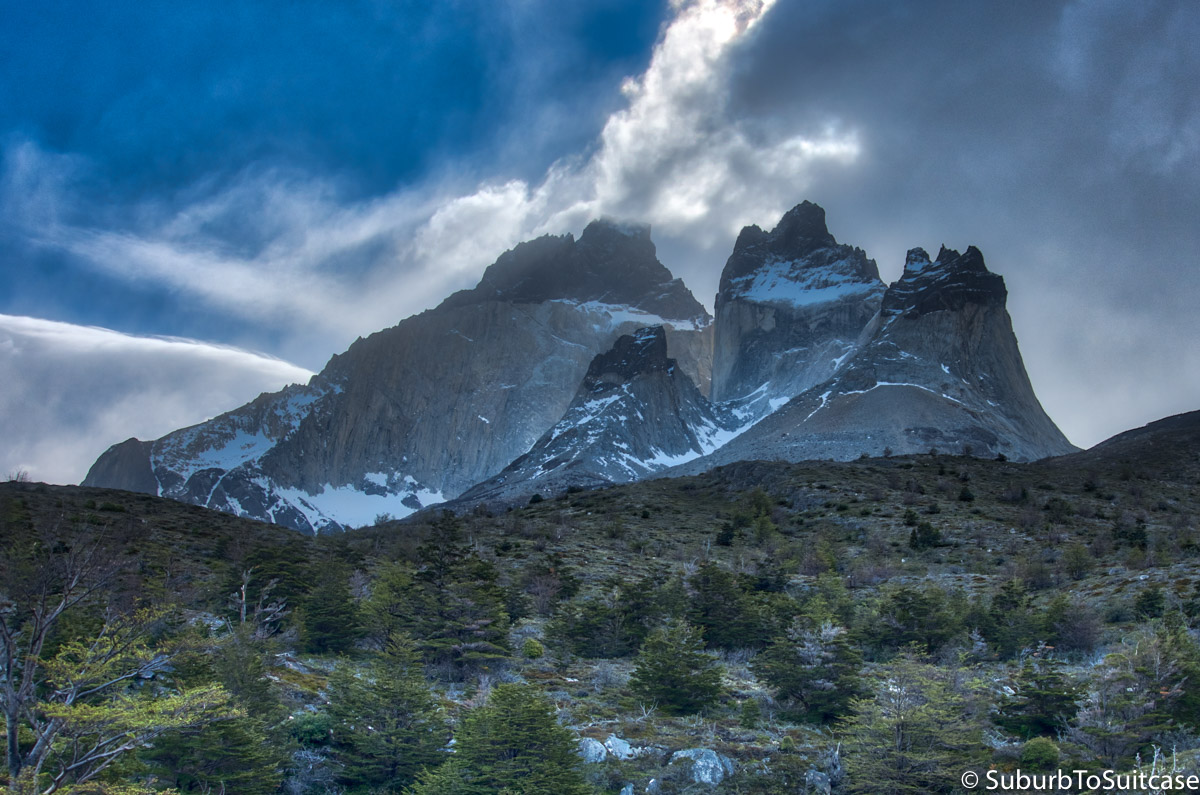
Los Cuernos (The Horns)
Day 3 – Refugio Los Cuernos to Valle Francés (13km or just over 8 miles)
This was an extra day for me so my path would not be required for a traditional “W” trek. I had just padded my trip with an extra day to mitigate any unexpected weather or unfortunate circumstances. Since thankfully those hadn’t arisen, I decided to keep climbing and experiencing all that the park had to offer, especially since the weather was perfect. Patagonia is so beautiful that any extra time here is well worth the experience. The tradeoff for an extra day is cost since it does involve an extra night of accommodation and physical wear and tear (mostly felt in the knees).
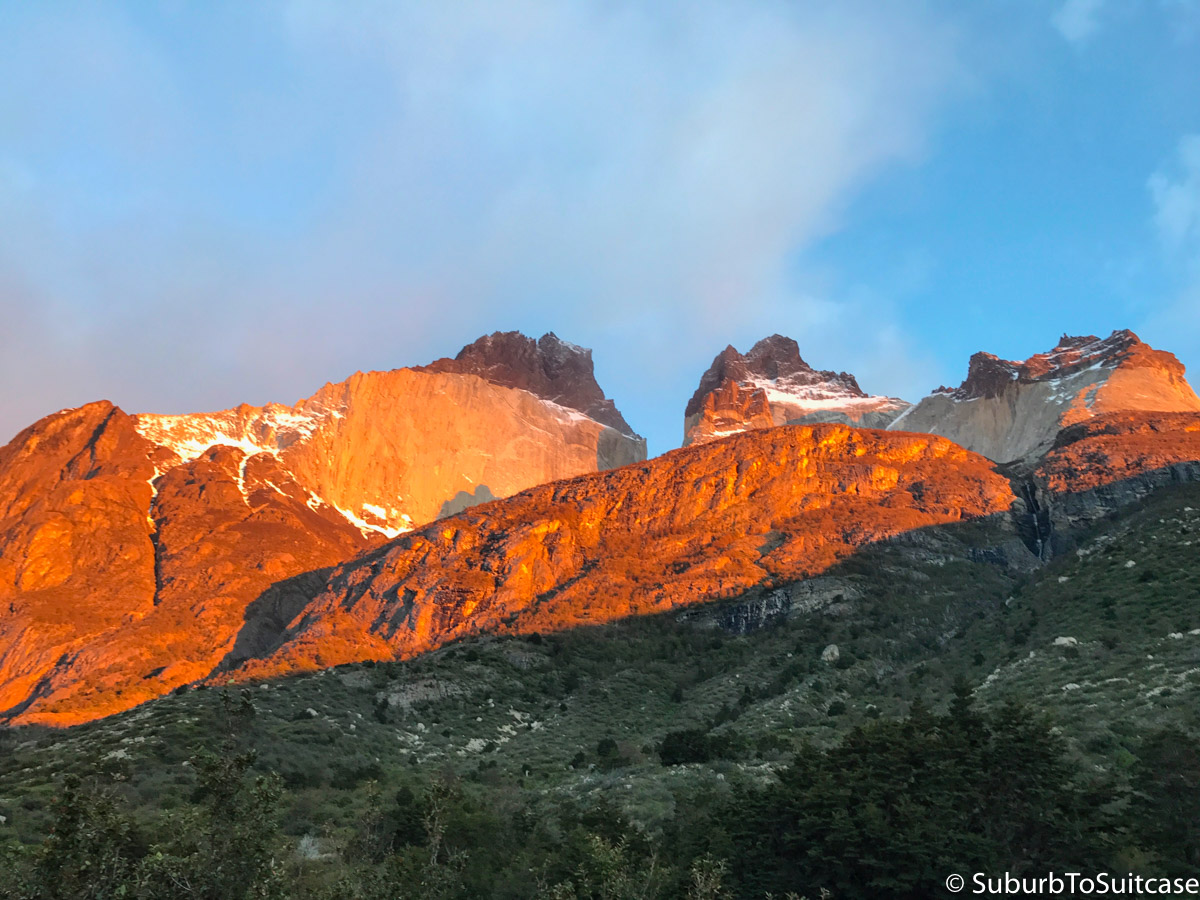
On a clear morning, the sun turns Los Cuernos to flame orange
I just took a daypack from Cuernos to reduce weight which my knees and back much appreciated. The trail takes you over boulders and along a beach. After the beach, you hit a set of very steep switchbacks, but after that, the trail is reasonable. You pass through a forest as well as two camping areas (Francés and Italiano). Most hikers leave their large backpacks at Italiano before heading up to the intense part of the trail at Valle Francés and weather permitting, Mirador Británico. Seasonality definitely impacts this portion of the climb because the rangers will not permit access to Británico if climber safety is at risk.
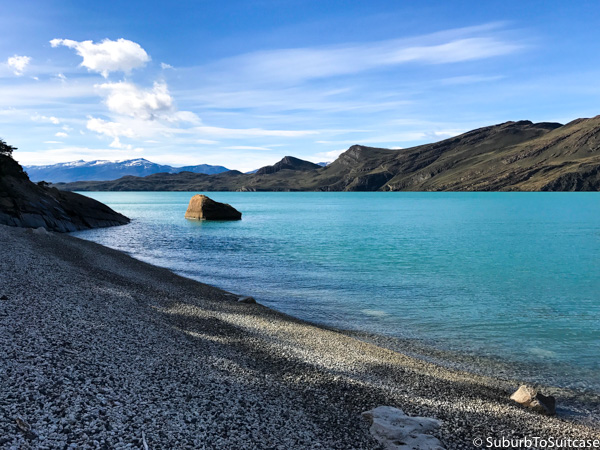
Just another day at the beach
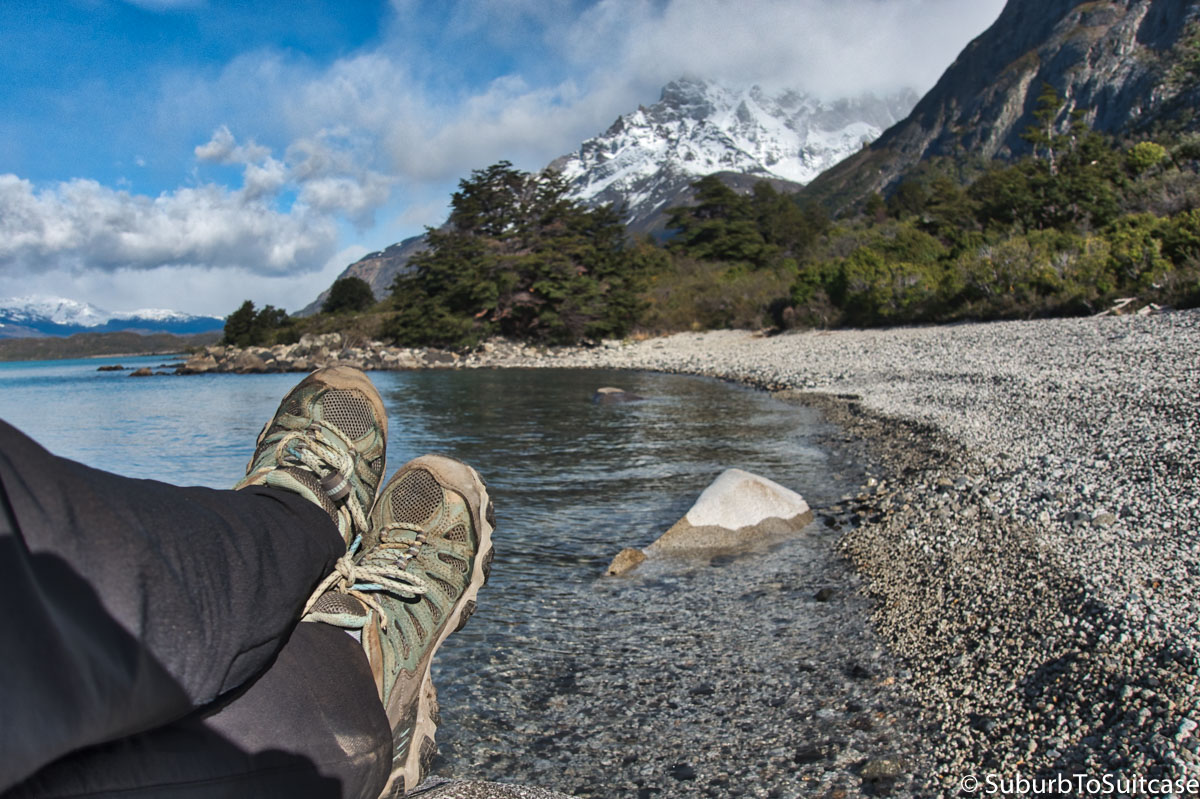
Not your typical beach vacation
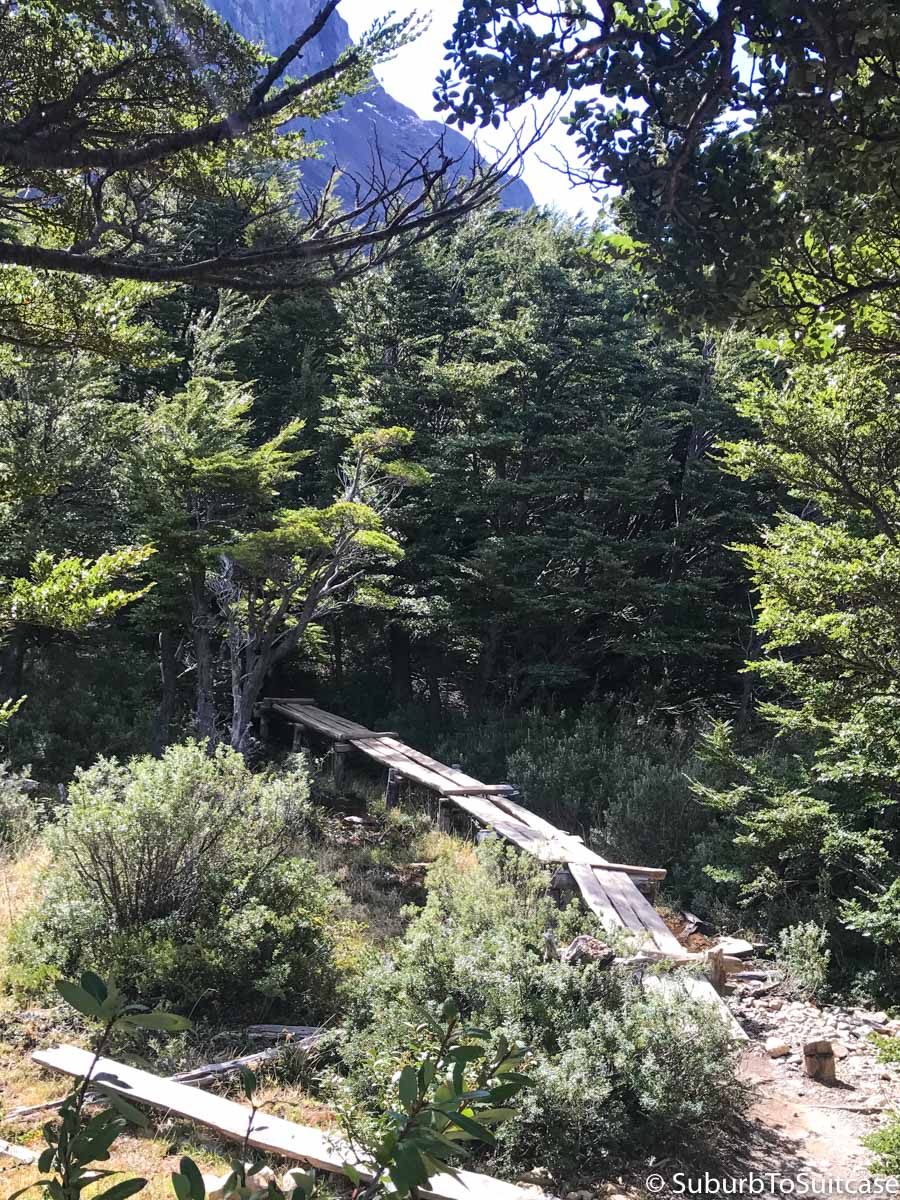
Yes, this “bridge” through the trees is actually part of the trail
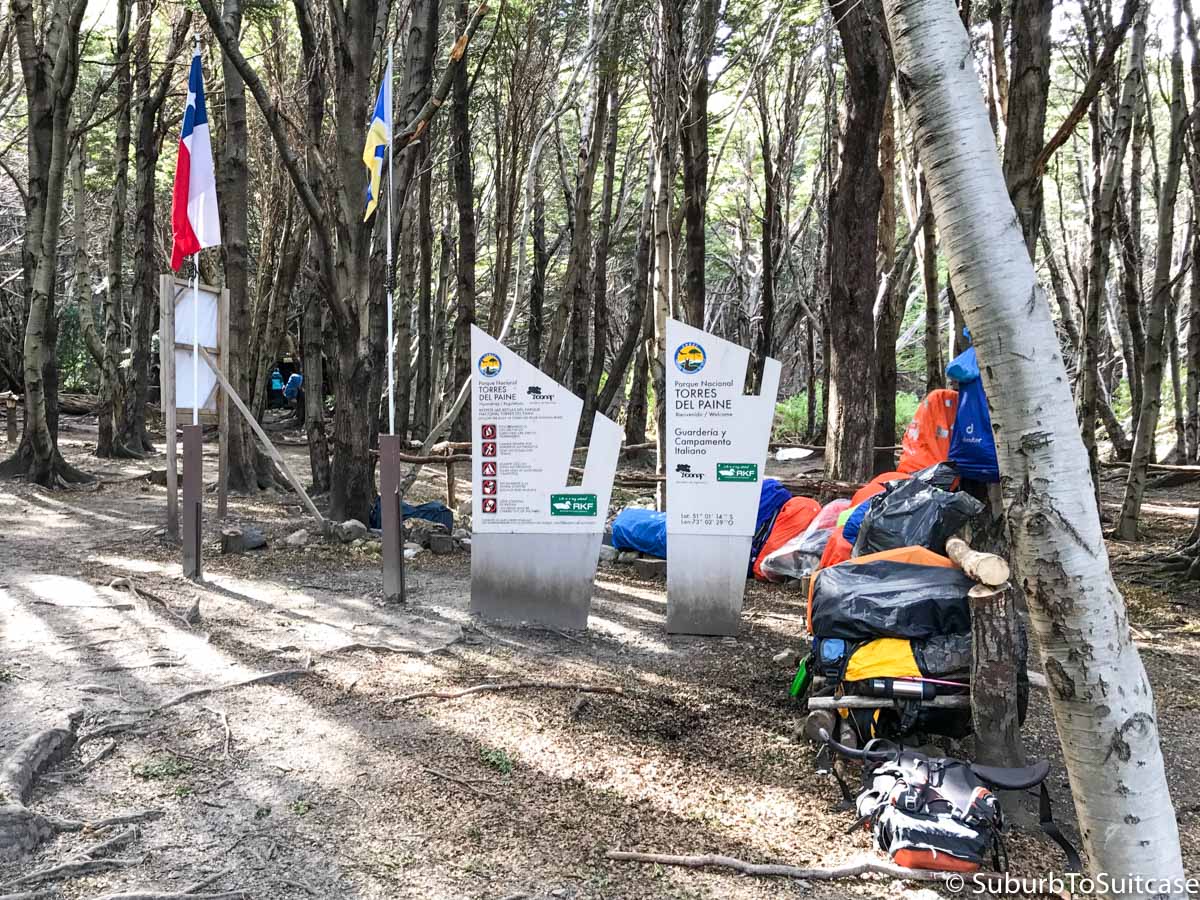
Heaps of backpacks at the ranger station awaiting climber return from Valle Francés and Mirador Británico
The trail to Británico had opened the day before I arrived, but because I had a 13km trek ahead of me this day, I chose to only go to Francés. I am very glad I made this decision also because even this part of the trail is steep boulder scaling with some solid exposure – not something I wanted to brave without trekking poles or a climbing partner for emotional support. That said, I would strongly recommend even a beginning climber at least go part of the way to Mirador Francés because the view of Glacier Francés can still be well seen from lower vantage points. Do not skip this area out of fear – it is easy to turn back part way. Along the climb, you will hear thunderous booms which are the sound of small avalanches that can be seen on the glacier. If you cannot see the snow crashing down, that means the avalanche was on the other side.
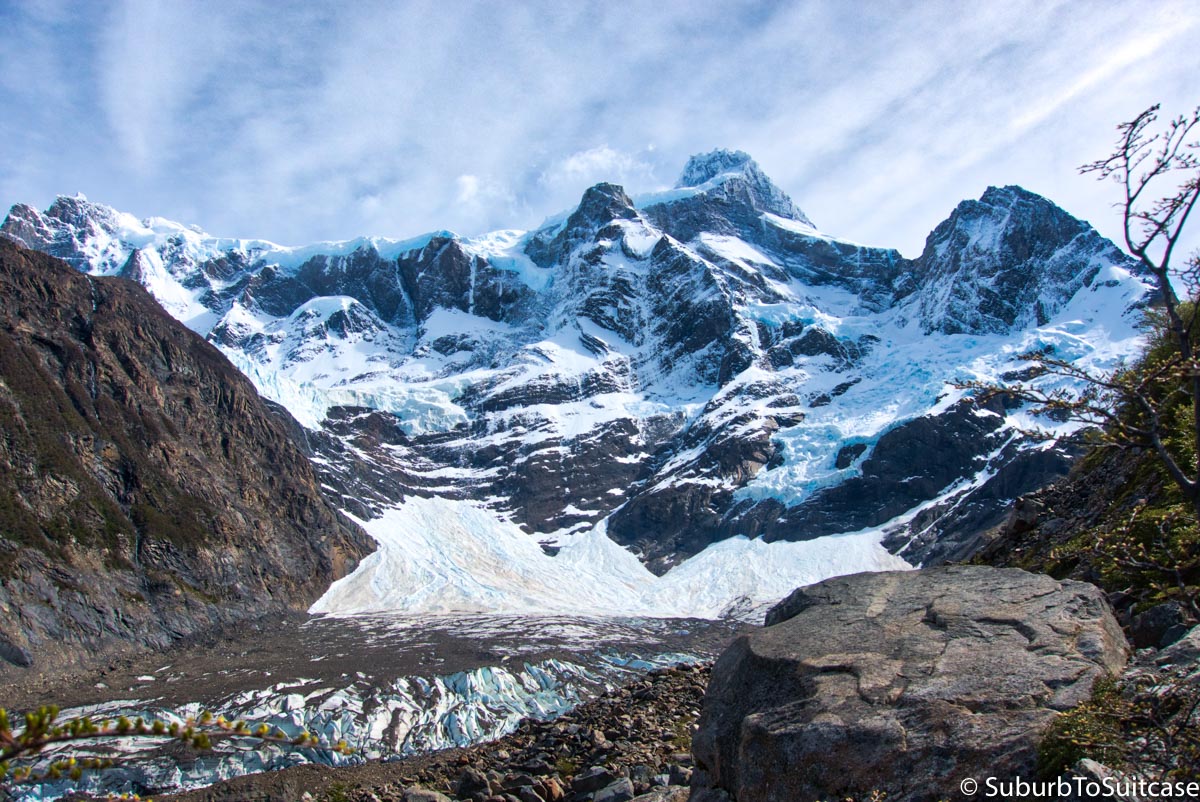
Glacier Francés
It was much easier retracing my steps this day since I was returning to the Refugio Cuernos but most climbers would either spend the night camping at Italiano, or, they would be taking an extremely long day and continue to the next place to Refugio Paine Grande. The only drawback I experienced was needing to handle those switchbacks again the next day. By this evening, my knees were starting to feel some significant impact – this is the price you pay not using trekking poles.
Day 4 – Refugio Los Cuernos to Refugio Paine Grande (10.1km or ~6.25 miles)
This was a short day and I was thankful. It meant I could sleep in and take my time. I retraced my steps to Italiano, saying my final goodbyes to Lago Nordesnkjöld along the way, and crossed the last suspension bridge I would find. My knees were legitimately sore this day so each step was strategically placed. Thankfully, the terrain was incredibly simple compared to the prior days.
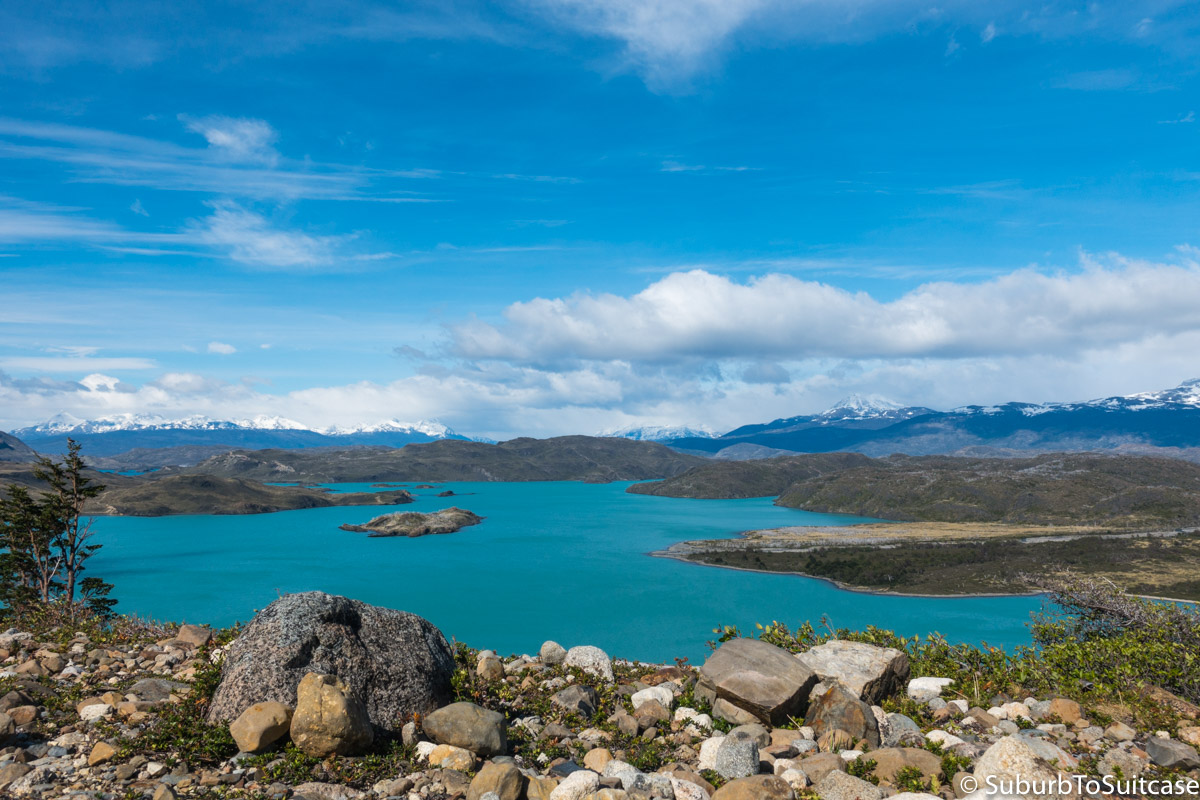
Last view of Lago Nordenskjöld
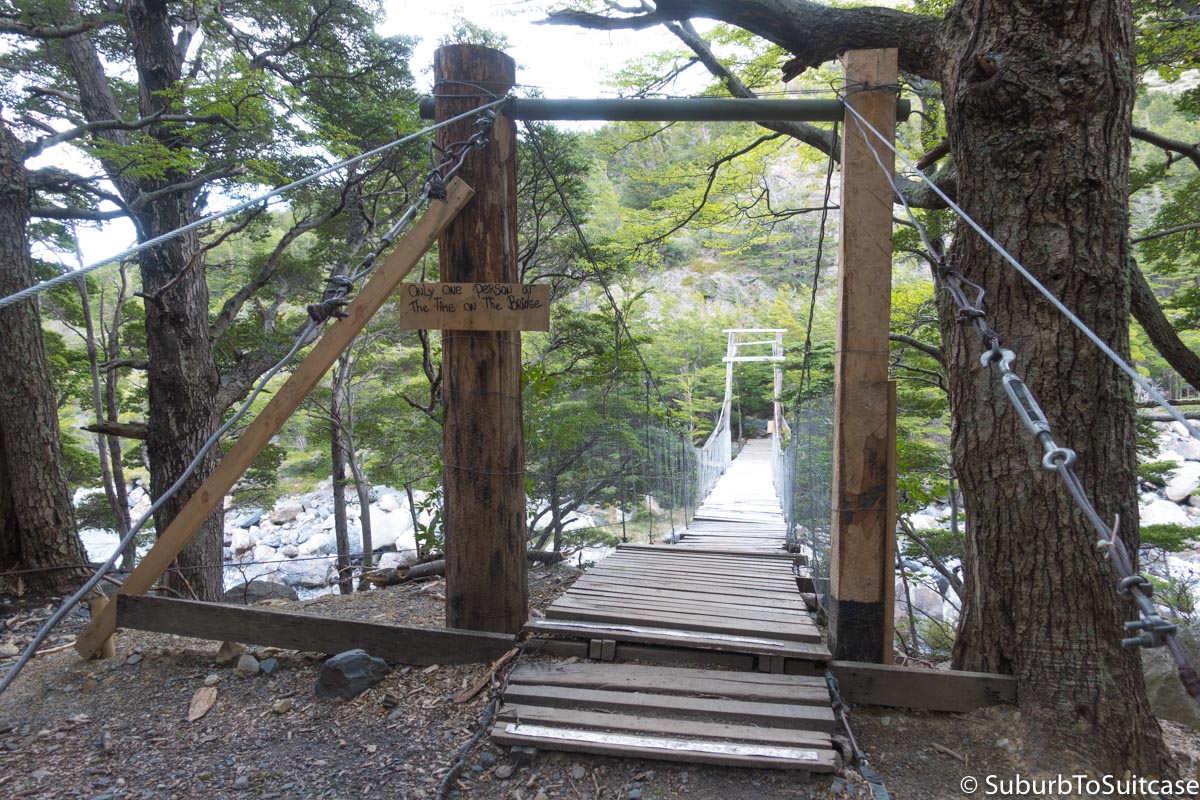
The second of two suspension bridges along the “W” trek
Gorgeous landscapes were everywhere – views of Glacier Frances, quiet forest paths, hills you just knew were packed with hiding puma, Lago Sköttsberg, and as I rounded the last bend, I finally spotted my first Andean condor. I wasn’t quite sure what massive flying machine was circling above me at the time, but I was praying I wasn’t the prey. No joke – their wingspan is over 10 feet so it is quite an overhead sight to see! This one may have been eyeing the European hares that hop around the hills close to Paine Grande. Everything is bigger in Patagonia, even the rabbits. The invasive hares are 3-4 feet in length before the tail is even considered.
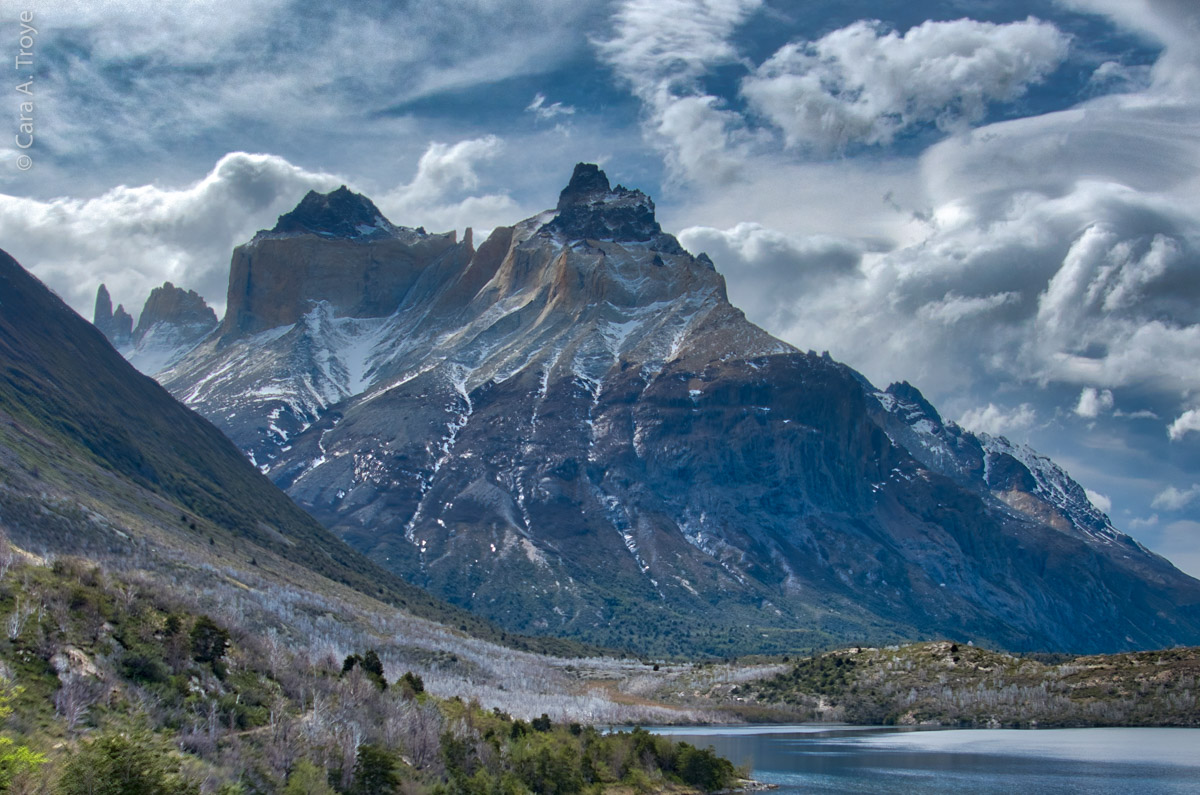
Lago Scöttsberg
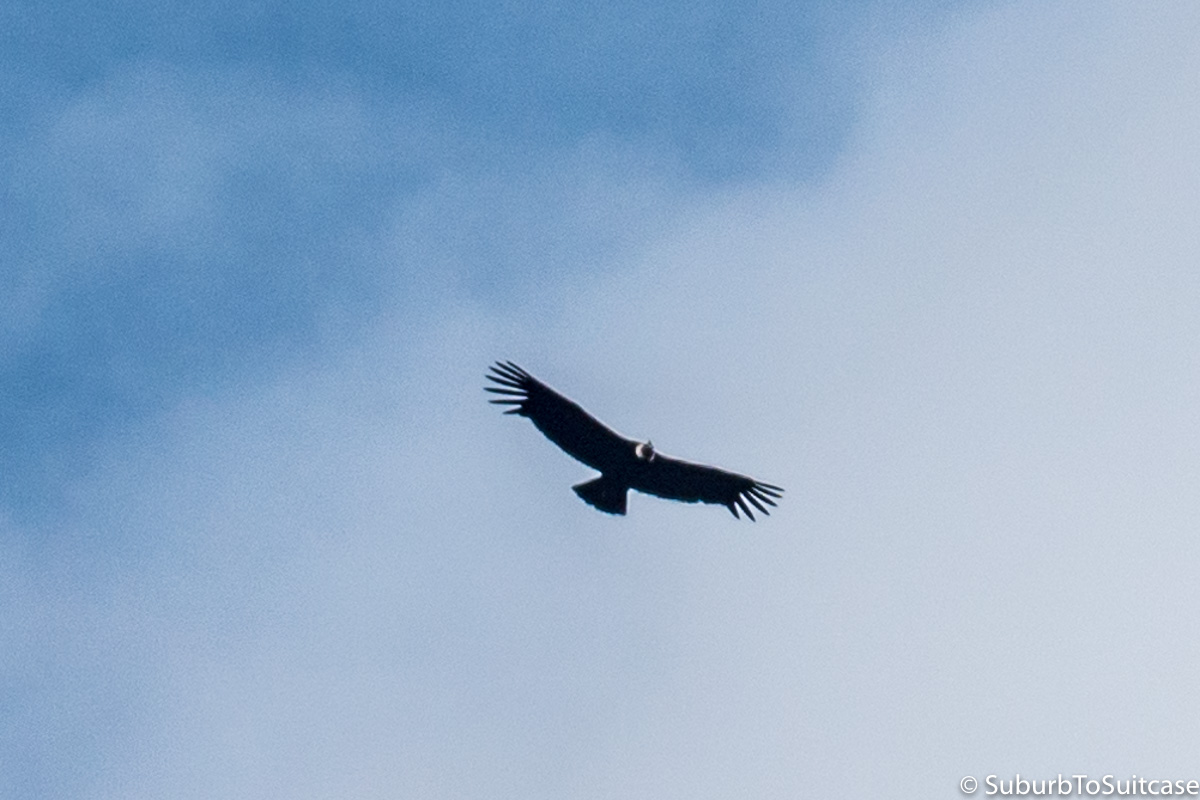
Andean condor
Can you see the hare on the trail in front of me? They blend well.
The Paine Grande area is beautiful at the edge of Lago Pehoé. When I arrived, the sun was shining as it had been almost all of my trek – such a luxury! This area is known for extreme weather conditions and I was not at all prepared for the extent of the weather change overnight. I do not believe I slept at all that night. The wind was so strong that it was shaking the walls of the two-story shelter and it was easy to hear the heavy wooden picnic tables being pushed around with each gust. I have never been so cold in my entire life and given that I’m from Northern Minnesota, that is really saying something. I shivered nonstop and I felt the cold deep in my bones, despite wearing each and every piece of clothing I had in my backpack (multiple socks, layers of merino top and bottom, gloves, jacket and wind shell). I counted every hour and it felt like an eternity for morning to arrive.
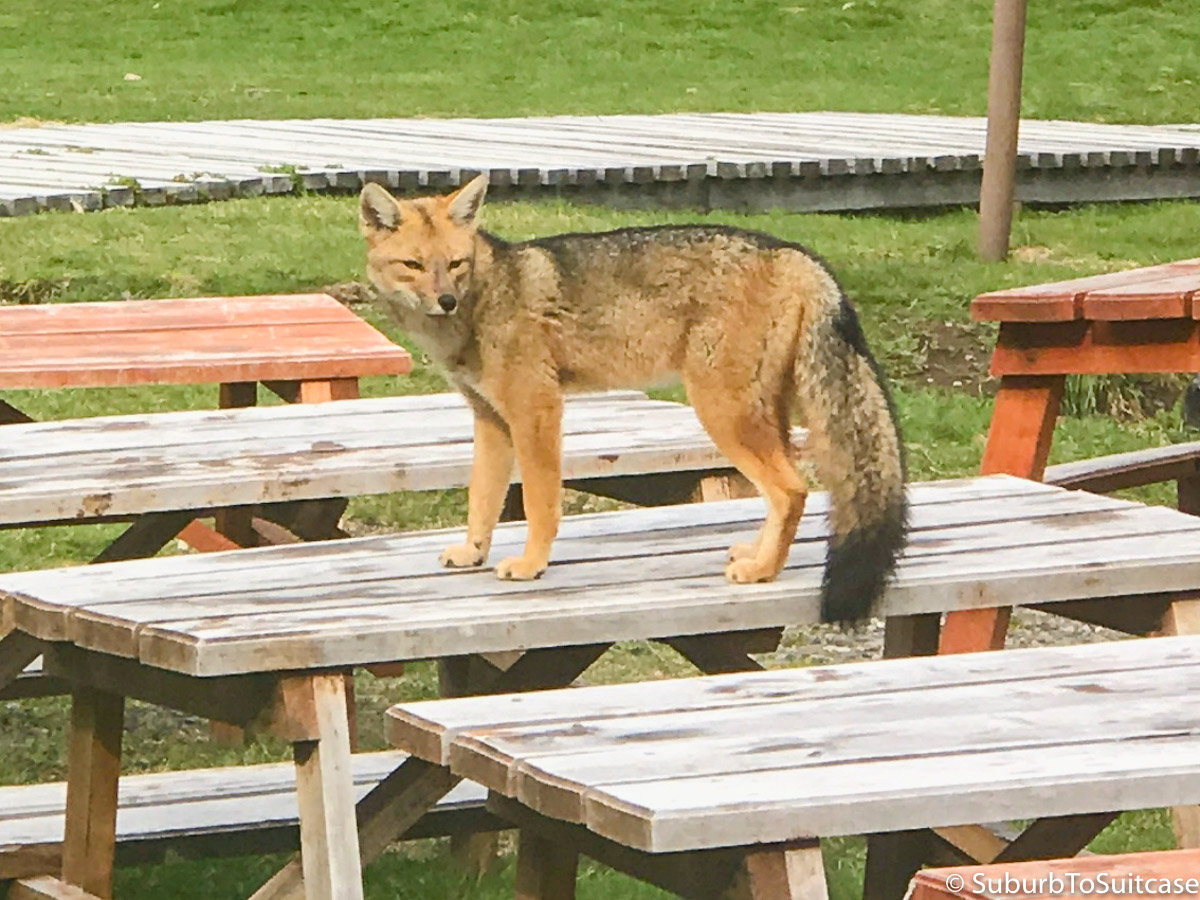
This fox made itself at home at Refugio Paine Grande
Day 5 – Refugio Paine Grande to Glacier Grey (9km or ~5.5 miles)
Indomita: indomitable, untamed, ungoverned, wild. This is what Patagonia is all about. When you research Torres del Paine, you read about how climbers can experience all four seasons in any given day. You read about extreme weather and intense conditions where winds gust over 100mph, but there is no way to really understand what these writers mean until you experience it firsthand. There is a healthy new respect for Mother Nature that comes from living it yourself. On this, the final day of my “W,” Patagonia brought it – all of it – as if to remind us who was in control and make us earn the celebratory pisco and ability to say we completed the trek.
Some of us tried to wait out the snow and the intense winds in the early morning, but realized after a couple of hours that this wasn’t about to let up so we started what would be an arduous climb into the wind tunnel between the hills. With freezing snow turning quickly to pelting sleet, the wind was sending tiny razor-sharp pellets of ice toward our faces. I had rain pants over my leggings, a wind shell over my jacket with the hoods and neck gator up along with a buff covering my nose and mouth to avoid breathing in the cold air. I turned my head down so that I was almost walking parallel to the trail as much as possible so the ice would hit my head instead of my face. It was a slow ascent for the first hour, where I looked up only periodically to see the direction of the trail. Then, the wind broke and the snow shifted to big flakes. My new friend from Brazil walking with me remarked that it looked like Christmas.
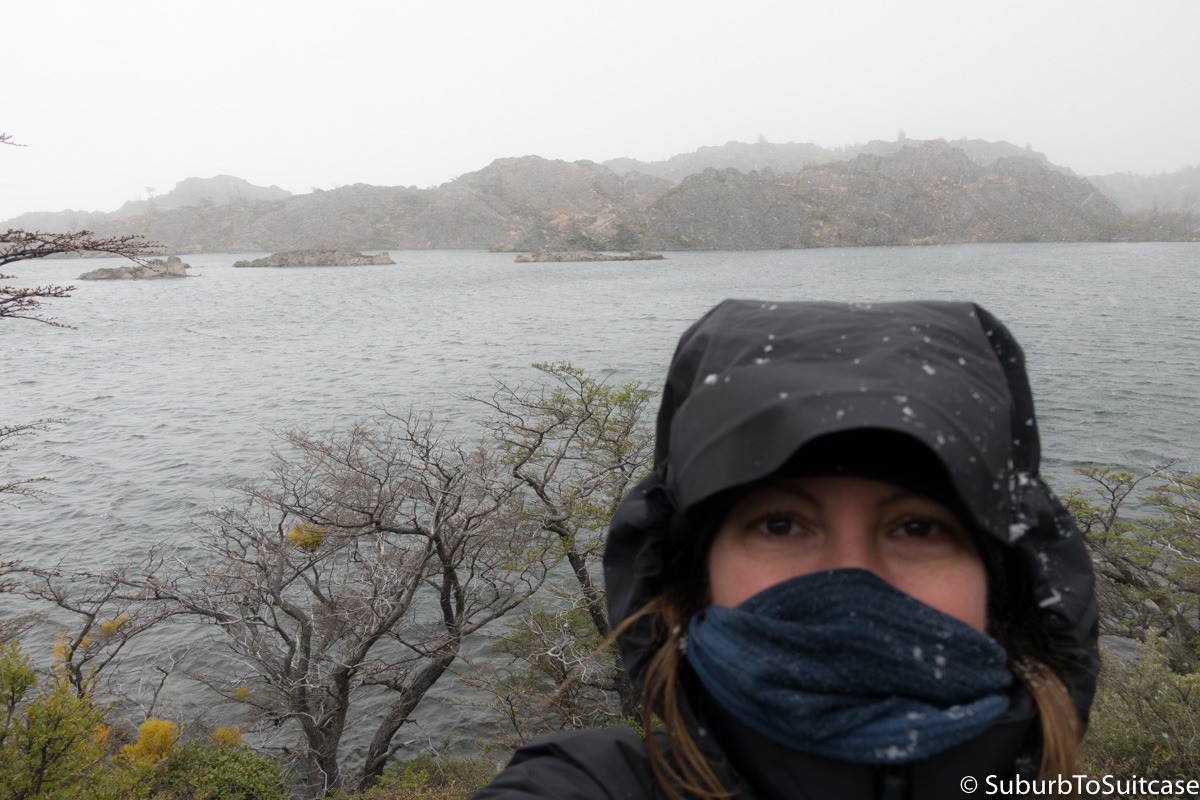
Me, painfully cold and windblown at Laguna Los Patos on the way to Glacier Grey
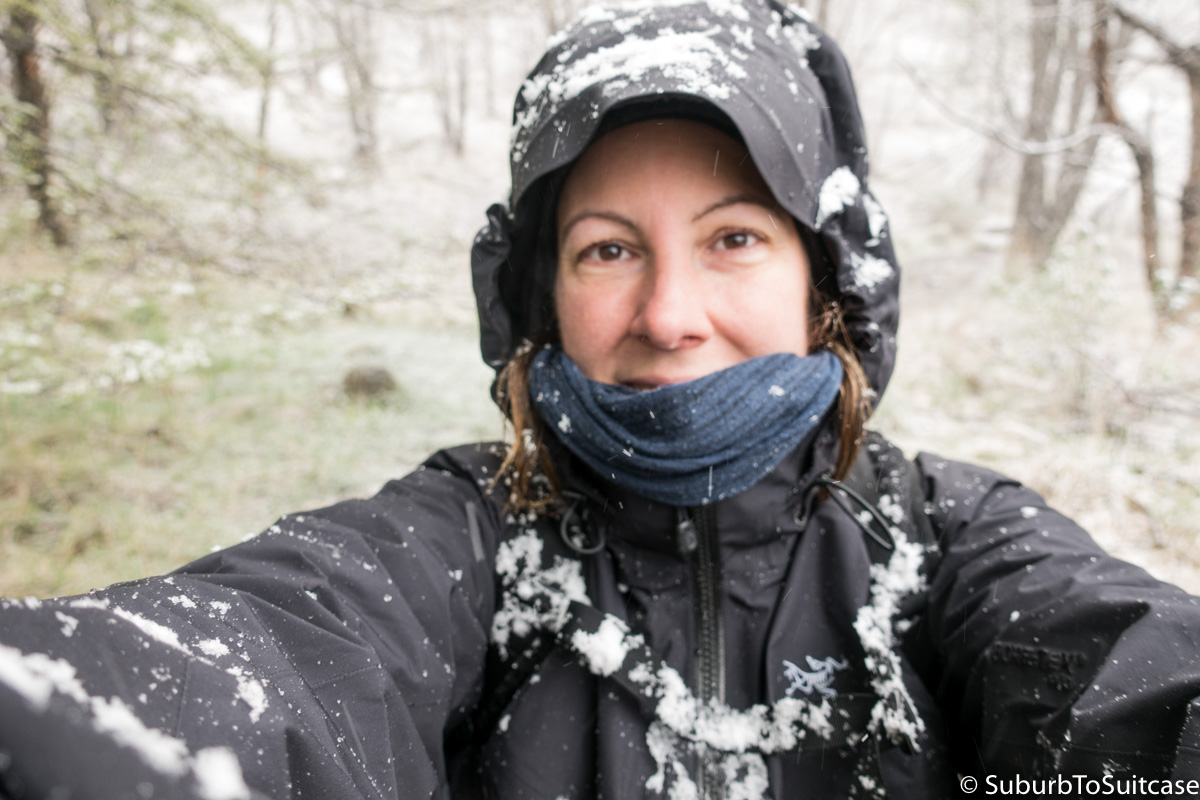
We were almost to Glacier Grey at this point
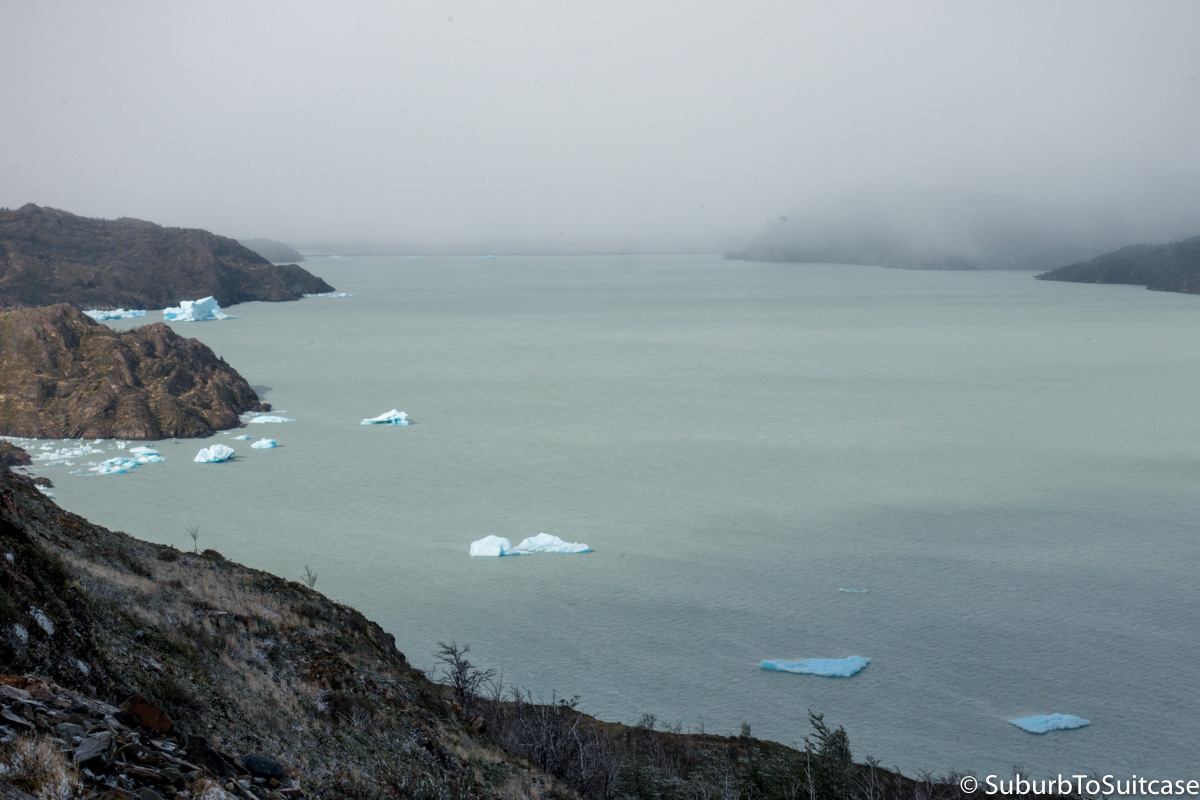
Chunks of glacier drifting in Lago Grey
Eventually the snow stopped and the sun emerged for a beautiful climb to the glacier. However, at the mirador itself, winds raged on the plateau ledge, so much that it was nearly impossible to stand upright for long. My hands turned bright red from windchill when I removed my mittens to snap a few photos. It was too cold and windy to stay long for the view, but I wanted to take it all in. The return back to Refugio Paine Grande was relaxing. Tree leaves were once again green and the pace was almost too quick on the descent from the wind at my back and I did not want to rush the experience. At times, I reached my arms out wide in order to try to block the wind and slow its force. I recalled each day’s experiences, the new friends I met along the trail, the emotional and physical challenges I conquered along the way, and how many lessons I learned over the past few days. I was appreciative of the strength I still had in my back and legs but contemplated how long it would take for my knees to feel normal again. I wondered how soon I could come back and do it all over again!
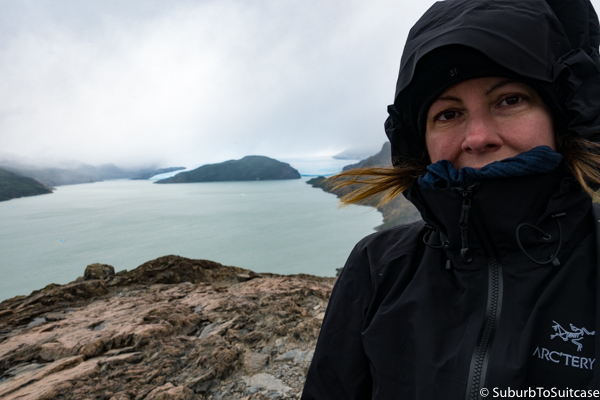
Me, freezing but so happy, at Mirador Grey
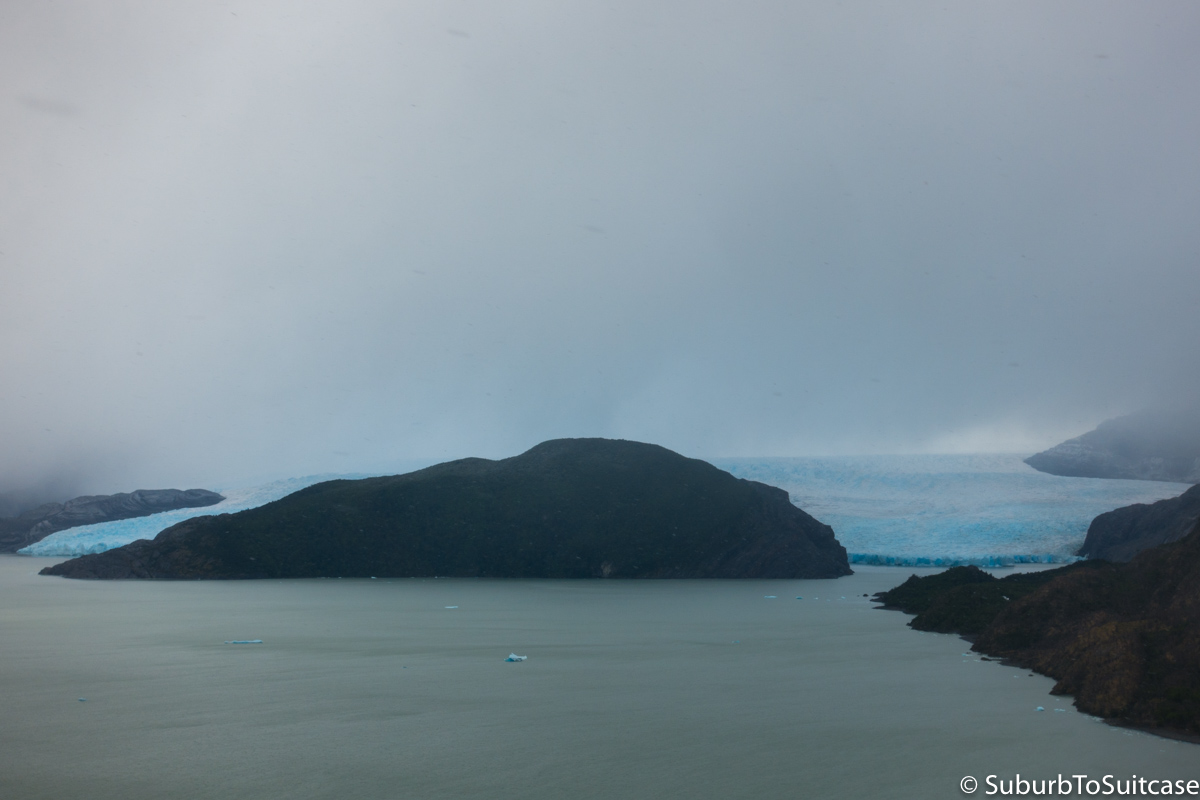
Melting Edge of Glacier Grey
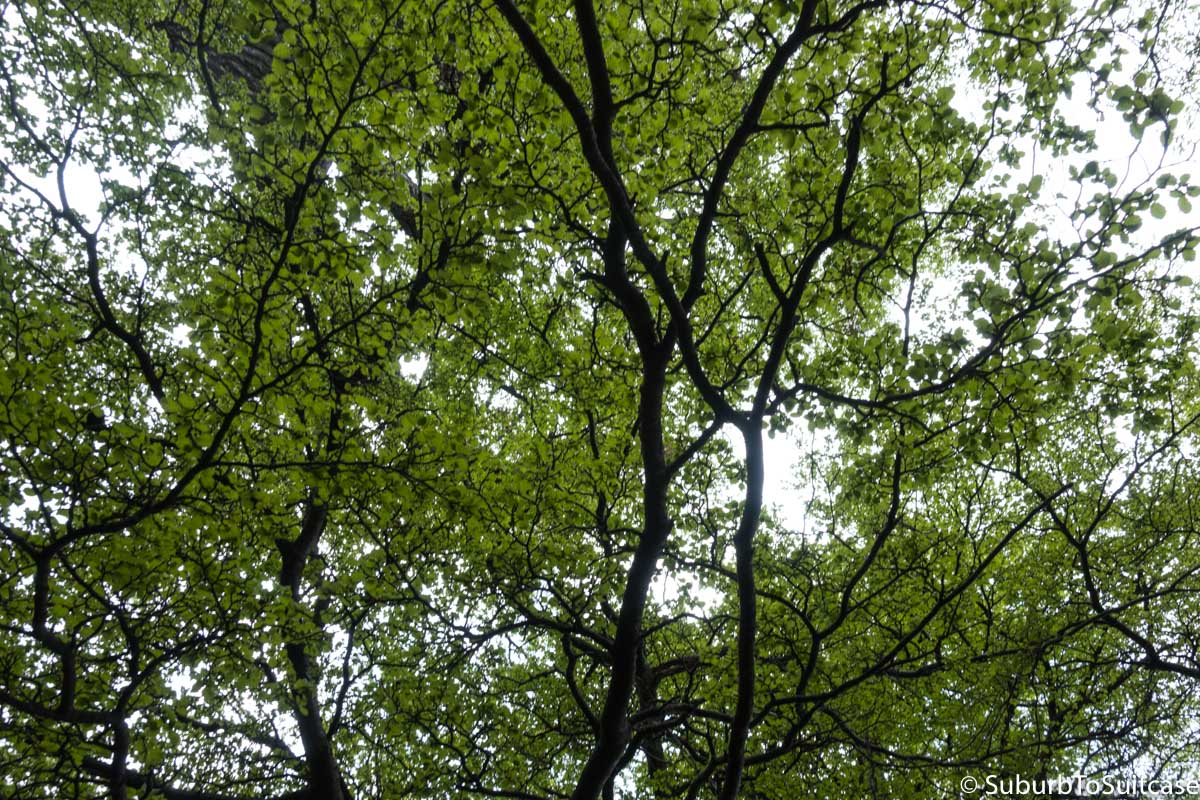
“Seasons” change quickly
To close the adventure, I ultimately took a catamaran from the dock at Refugio Paine Grande across Lago Pehoé to Pudeto (~30 minutes). From there, I caught a bus back to Puerto Natales (we stopped for a while first at the park entrance) and then transferred to another bus to Punta Arenas where I slept in the airport (another freezing destination!). I took a flight from Punta Arenas back to Santiago, showered in the airport, and then began the international flights back to the U.S. My splurge meal of the trip wasn’t very glamorous, but having completed the trek, I had zero guilt!
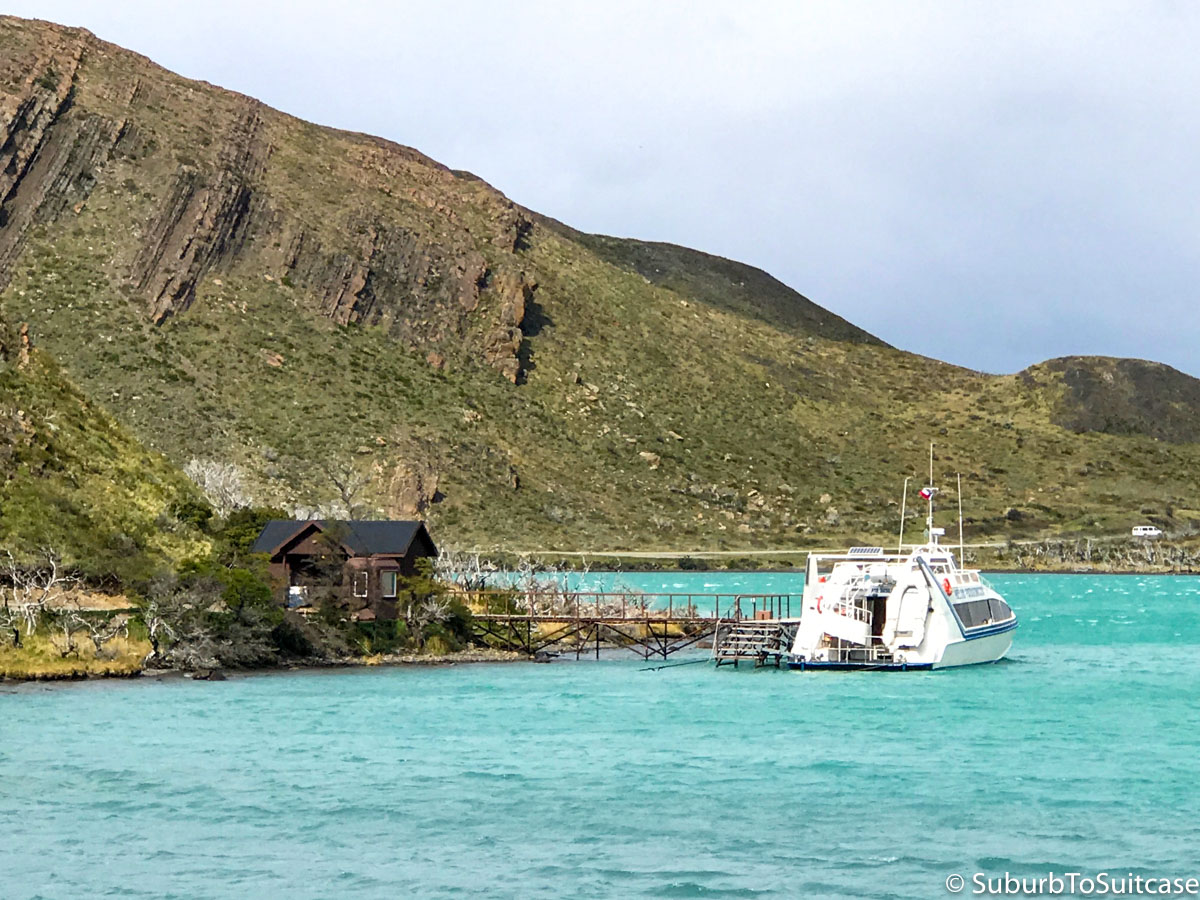
Comfortable ferry to Pudeto
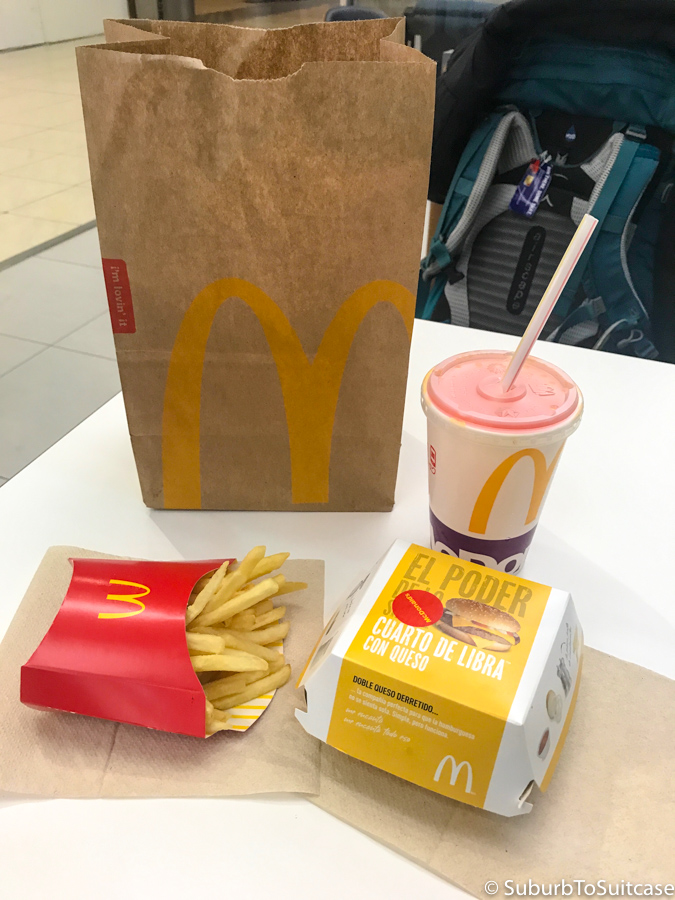
Airport McDonalds McNífico meal
I have been asked a number of times if I would do it all again and my response is an overwhelming YES! I cannot wait to return, but next time, I will likely arrive by way of Argentina to be able to experience the Eastern side of the region as well.
Travel Tips:
Note that these are lessons that apply to trekking the “W” during shoulder season using the refugio accommodation option.
- The lighter your bag, the better. For a small frame, consider a pack with total weight under 20 pounds. That should include your backpack, camera, clothing, toiletries and daypack inside.
- Most backpacks come with rain cover but if yours does not, get one. Be sure it is always cinched tightly so the gusty winds don’t just rip it off.
- Pack “toe warmers “to go inside your socks at night to keep you warm. Some of the regufios are extremely cold.
- Consider bringing a featherlight sleeping bag even if you are staying in refugios if climbing in shoulder season when it is colder
- Do not forget to bring sunscreen for your exposed areas, especially face and lips. Also remember moisturizer for your face – the wind can be harsh. Stock up on individual travel size product samples before your trip rather than packing bottles – samples are lightweight and just the right size.
- Instead of between-the-toe flip-flops for showers and casual wear inside refugios, bring the slide style. This way you can wear socks in them after showering but not have to cram your sock between the toe separator.
- Even though it might be considered a luxury item, consider wearing a wristwatch if you like to track time and distance during the climb.
- For electricity adapters, only the two round prong adapter is needed (not the three prong).
- Bring trekking poles. Trust me on this one. I was one of the few climbers without them and my knees knew it.
- If your knees aren’t used to climbing, bring athletic tape and learn how to tape your knees before your trip. You can also consider knee sleeves or a product like Biofreeze to relieve pain.
- Wear hiking boots that you have already broken in (preferably waterproof given the number of water crossings). If there is any chance you might develop blisters, consider wearing a sock liner. These are lightweight, quick drying and breathable.
- Always have band-aids easily accessible just in case. There are also blister kits available to bring with you if you have room – these include moleskin for ankle or toe protection. The key is to blisters before you actually get one, so do whatever it takes to prevent.
- Keep electronics to a minimum – most refugios have no outlets for use (you can ask the front desk sometimes and they might charge your phone briefly).
- When choosing your bunk in a refugio, try to select an interior wall (it will be warmer than a perimeter wall) and consider one that is not opposite a lightbulb or door (your sleep may be more restful).
- Condensed milk is used in a lot of meals along the trek, even for breakfast caramel-like spread. Quince spread (a sort of solid fruit jelly) is also popular. Just give in to all the carbohydrates since you will burn them the next day.
- Take time to meet people whether it is on the trail or in the refugios. It can be a fun experience to share stories and find out where everyone is from. I met hikers from the United States, Brazil, Turkey, Chile, South Korea, Australia, Mexico, Slovenia, Germany, Holland, Amsterdam, Belarus, the UK, El Salvador and Israel. One night at the refugio, we even had an impromptu yoga practice to stretch our muscles.
Recommended Packing List:
Note that this is tailored to “W” treks during shoulder season using the refugio accommodation option.
- Backpack (no more than 46L for a small frame)
- Daypack (lightweight)
- Collapsable water bottle
- Headlamp (lightweight)
- Minimum toiletries (consider individually wrapped manufacturer samples of products) including sunscreen (especially face and lip)
- Earplugs or eye mask (to help sleep in shared accommodations)
- Padlock (if you need to lock anything up at a refugio)
- Camera (even though I wanted to bring a DSLR or mirrorless, I opted for a compact for size and weight) or phone with camera (if more megapixels are not as important) – my luxury item was a mini/tabletop tripod so I could take some time-lapse, night and bracketing photos but you still need to be careful with the wind gusts
- Quick dry leggings (mine had a side pocket where I could keep my camera handy)
- Lightweight base layer leggings (I chose merino – if you choose a great pair, you may wear these every hour of every day even for pajamas)
- Quick dry soft shell pant with movement flexibility
- Lightweight rain pants (you may only use these once but they will be much appreciated when you do – choose a style that is easy on/off to slip over your leggings or soft shell pants)
- Lightweight base layer top (I like merino – again, if you choose a great one, you may wear this even for pajamas)
- Merino quarter zip (my jackets have hoods so I do not prefer a hoodie for this layer) – I preferred this instead of a fleece since it’s much lighter – I generally started the day with the base layer underneath and then would remove the base if I was warm
- Lightweight and collapsable synthetic jacket
- GORE-TEX® shell (to protect against wind, rain, sleet, snow)
- Quick dry undergarments (minimum necessary)
- Socks (2 pair for hiking + 1 liner sock)
- Hiking boots (strongly recommend waterproof)
- Hat (some prefer a hiking hat with brim but I chose a beanie style made of merino)
- Buff (again, a fan of lightweight merino)
- First aid items (band-aids, medicine, pain relief spray or rub)
- Electrolytes (I like the drop-in recovery tablets) and vitamins to keep your immune system high and replenish/avoid dehydration cramping
- Small microfiber anti-microbal towel for showers so you do not have to pay to rent
- Itinerary/receipts confirming payments processed for refugio lodging (I had to produce this at one refugio or pay again – such a scam!)
- Cash in Chilean pesos for incidentals
- Waterproof gloves or mitten/glove combos to protect from wind and other elements
- Trekking poles (strongly recommended to protect knees)
- If you have room and you tend to be cold at night, consider toe warming sock inserts or a super lightweight/collapsable sleeping bag
